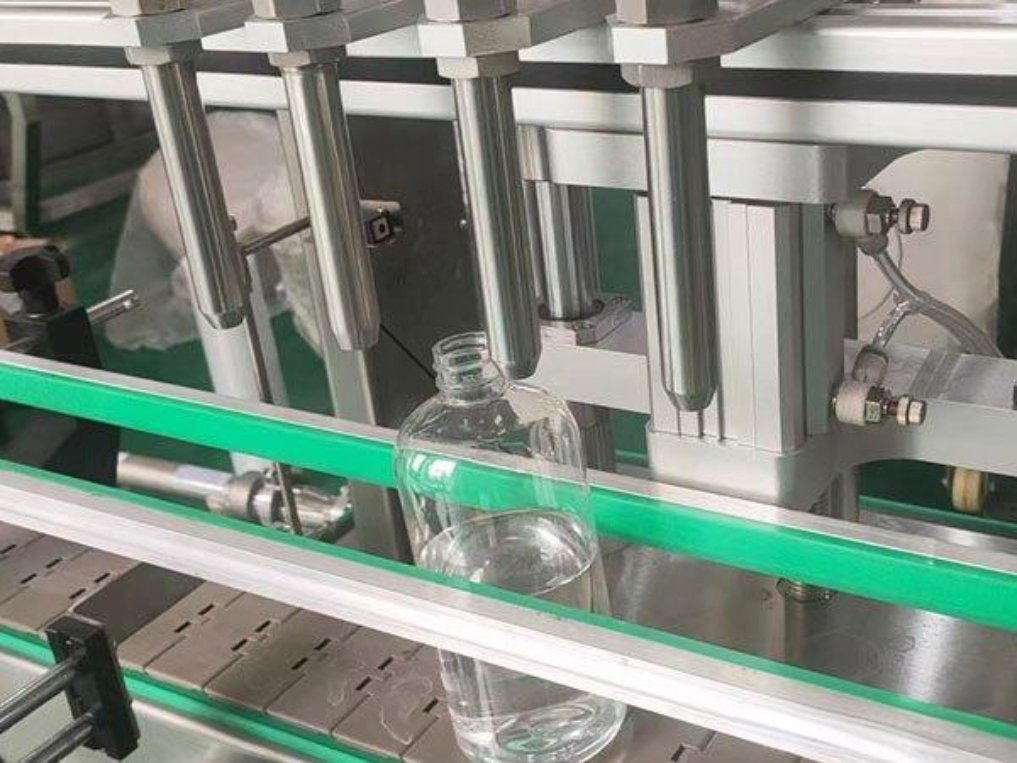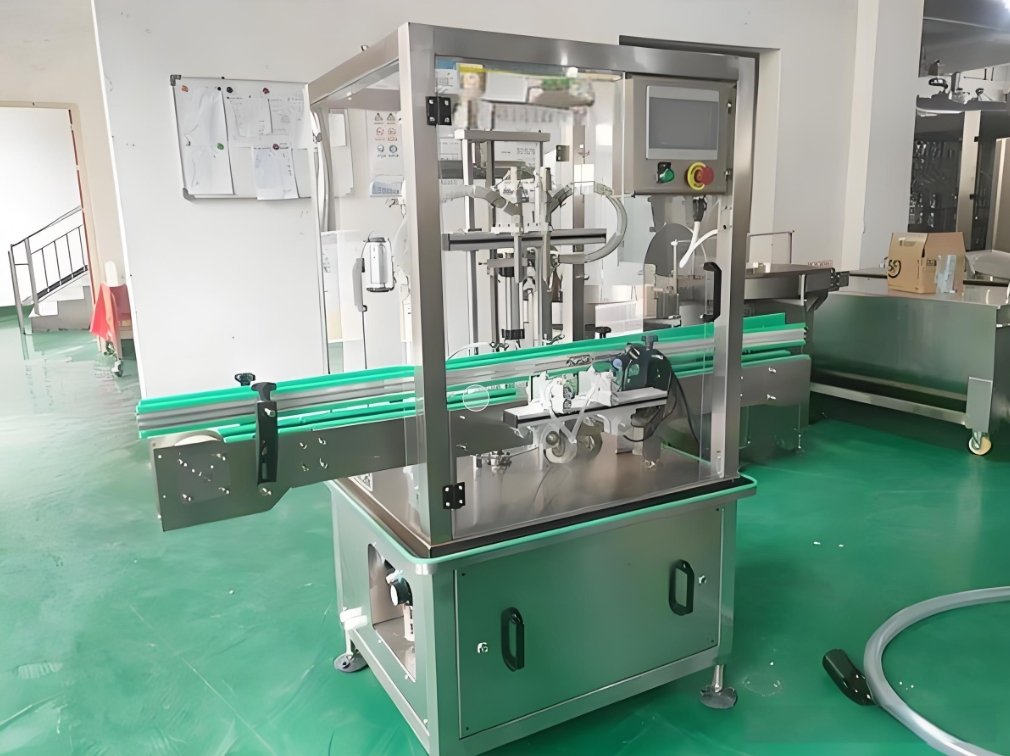
Regular tube filling machine cleaning helps prevent product residue, filling inaccuracies, sealing defects and unnecessary production downtime. A structured maintenance program can also identify worn nozzles, seals, heaters, sensors and moving components before they cause a complete machine failure.
However, tube filling and sealing machines differ significantly. Equipment may process plastic, laminated or aluminium tubes and may use hot-air, ultrasonic, heat-folding or crimping systems. Cleaning requirements also vary depending on whether the machine handles cosmetics, toothpaste, ointments, pharmaceuticals, food pastes, adhesives or industrial chemicals.
Always follow the equipment manufacturer’s manual, your facility’s approved cleaning procedure and applicable workplace-safety requirements. This guide provides a general framework and should not replace machine-specific instructions.
Manufacturers planning a new tube packaging line can review our tube filling and sealing machine for creams, gels, ointments, toothpaste, cosmetics, food pastes, adhesives and other viscous products.

Why Tube Filling Machine Cleaning Is Important
Products processed through a tube filler can accumulate inside the hopper, product pipes, dosing cylinder, valves and filling nozzle. Residue may also collect around tube holders, sealing components, trimming stations and discharge areas.
Without proper cleaning and inspection, this buildup can contribute to:
Blocked or dripping filling nozzles
Inaccurate filling volumes
Product contamination
Weak or uneven tube seals
Product trapped inside the sealing area
Tube alignment problems
Sensor detection errors
Excessive component wear
Unexpected production stops
Difficult product changeovers
Cleaning is therefore not limited to improving the machine’s appearance. It supports product quality, reliable operation and consistent packaging output.
Before Cleaning: Prepare the Machine and Work Area
Before beginning the tube filling machine cleaning procedure, review the machine manual and collect the approved tools, cleaning materials and personal protective equipment.
Depending on the machine and processed product, required items may include:
Lint-free wipes
Soft, non-shedding brushes
Approved scrapers
Designated cleaning utensils
Suitable vacuum equipment
Manufacturer-approved cleaning solution
Rinse water of the required quality
Clean containers for removable components
Gloves and eye protection
Respiratory protection where required
Equipment-cleaning checklist or log
Do not automatically use alcohol, bleach, household detergent or another general-purpose chemical. The selected cleaning agent must be compatible with the product residue, stainless steel, hoses, seals, gaskets, plastic components and the facility’s approved procedure.
Step 1: Finish the Production Cycle
Complete the current production run according to the normal shutdown procedure.
Remove filled tubes from the discharge area and identify the reason for cleaning. The required procedure may differ depending on whether cleaning is being performed:
After a normal production batch
Between batches of the same product
During a product changeover
During a tube-size changeover
After a spill or filling fault
Following machine maintenance
Before an extended shutdown
As part of scheduled preventive maintenance
Record the product and batch status where required before removing remaining material from the machine.
Step 2: Shut Down and Isolate Energy Sources
Stop the machine using the approved shutdown sequence. Isolate electrical, pneumatic, hydraulic, vacuum, thermal and other energy sources according to the machine manual and workplace procedure.
Some tube sealing components remain hot after production has stopped. Allow heaters, sealing jaws and hot-air components to cool before touching or cleaning them.
Do not:
Clean moving components while the machine is operating
Reach through machine guards
Bypass safety switches
Place hands near an energized sealing station
Open electrical cabinets without authorization
Remove pressurized hoses before releasing stored pressure
Only trained and authorized personnel should perform internal electrical, pneumatic, hydraulic or mechanical servicing.
Step 3: Remove Tubes and Remaining Product
Remove unused empty tubes, rejected tubes and remaining product from the machine.
Drain or recover material from the hopper, product tank, filling cylinder and supply pipes according to the approved product-handling procedure.
Inspect areas where product commonly remains:
Product hopper
Agitator
Transfer hoses
Dosing cylinder
Rotary or piston valve
Filling nozzle
Nozzle shut-off mechanism
Tube holders
Filling station
Tube discharge area
Do not combine recovered product with approved production material unless the facility’s documented procedure specifically permits it.
Step 4: Remove Approved Product-Contact Components
Remove only those components identified as safely removable in the machine manual.
Depending on the machine design, removable parts may include:
Product hopper
Hopper lid
Agitator
Transfer hoses
Filling nozzle
Nozzle tip
Dosing piston
Product cylinder
Rotary valve
Seals and gaskets
Tube guides
Product-contact connectors
Place removed parts in clean, identified containers or on a protected cleaning surface.
Do not force components apart. If a part cannot be removed normally, check for remaining fasteners, pressure, hardened product or incorrect disassembly sequence.
Step 5: Remove Bulk Residue
Remove as much visible product as possible before applying a cleaning solution.
Use a suitable scraper, brush, wipe or vacuum method approved for the machine and product. Avoid metal tools that can scratch stainless-steel surfaces or damage seals.
Pay particular attention to:
Internal hopper corners
Agitator blades
Valve cavities
Piston surfaces
Filling-nozzle openings
Hose connections
Gasket grooves
Product-return paths
Thick creams, pastes, ointments, adhesives and gels may require a different removal method than low-viscosity liquids. Follow the approved procedure for the specific product.
Step 6: Clean the Hopper and Product-Delivery System
Clean the hopper, agitator, valves, filling cylinder, product pipes and filling nozzle according to the manufacturer’s instructions.
A typical process may include:
Removing visible residue
Applying the approved cleaning solution
Cleaning internal surfaces using designated tools
Flushing product pathways where permitted
Rinsing to remove product and cleaning-agent residue
Inspecting difficult-to-access areas
Drying or draining the system completely
Make sure valves and filling pathways are cleaned in every operating position where the machine design requires it.
Never introduce water or cleaning solution into a system unless the manufacturer confirms that the relevant components are suitable for wet cleaning.
Step 7: Clean and Inspect the Filling Nozzle
The filling nozzle requires particular attention because dried or hardened product can cause dripping, splashing, inconsistent dosing and contamination of the tube-sealing area.
Inspect the nozzle for:
Partial blockage
Hardened product
Damaged nozzle tips
Worn shut-off seals
Loose connections
Product leakage
Scratches or deformation
Clean internal nozzle passages using approved tools. Do not enlarge the nozzle opening or use sharp objects that can damage the internal surface.
After cleaning, ensure the nozzle is dry, correctly assembled and aligned with the centre of the tube holder.
Step 8: Clean the Tube Holders and Indexing Area
Tube holders, orientation stations and indexing tables should remain free from product residue, tube fragments and dust.
Clean:
Tube cups or holders
Indexing-table surfaces
Tube-loading guides
Orientation sensors
Registration-mark sensors
Tube transfer points
Reject stations
Discharge guides
Inspect each tube holder for cracks, looseness or deformation. An incorrectly sized or damaged holder can prevent the tube from remaining vertical during filling and sealing.
Step 9: Clean the Sealing System
The sealing system must be cleaned carefully because product residue inside the tube-sealing area can create weak, contaminated or uneven seals.
The correct procedure depends on the sealing technology.
Hot-air sealing systems
Inspect the hot-air nozzle, tube mouth area and cooling station for residue. Allow all heating components to cool before cleaning.
Do not insert cleaning tools into the hot-air system unless the manufacturer’s procedure permits it.
Heated sealing jaws
Clean sealing-jaw surfaces after they have cooled. Remove product and film residue without scratching the sealing pattern or damaging protective coatings.
Ultrasonic sealing systems
Inspect the horn and anvil for residue, wear or damage. Use only the cleaning method approved by the equipment manufacturer.
Aluminium tube folding or crimping systems
Remove tube fragments and product residue from folding tools, crimping components and closure stations. Inspect tools for wear or incorrect alignment.
For repeated sealing defects, uneven tube closures or product leakage, review our guide to common tube filling and sealing machine problems.
Step 10: Clean Coding and Trimming Components
Many tube filling machines include batch coding, date embossing and trimming stations.
Remove tube fragments, ink residue and product buildup from accessible areas.
Check:
Coding characters
Embossing blocks
Printing surfaces
Trimming blades
Cutting stations
Finished-seal edges
Scrap collection areas
Do not handle sharp trimming blades without the required safeguards and personal protective equipment.
Replace damaged or blunt blades according to the maintenance procedure rather than attempting unsafe adjustments.
Step 11: Clean Sensors and Machine Surfaces
Dust, product residue and tube fragments can affect sensors used for tube detection, registration-mark reading, filling confirmation and discharge control.
Clean sensor surfaces gently using the method recommended by the manufacturer.
Do not spray liquid directly onto:
Sensors
Touchscreens
Control panels
Switches
Electrical connectors
Motors
Servo systems
Electrical cabinets
Apply the approved cleaning material to a wipe instead of spraying sensitive components directly.
Clean the machine frame, guards and external panels while preventing liquid from entering electrical or mechanical assemblies.
Step 12: Dry, Inspect and Reassemble Components
Dry all cleaned parts using the approved method. Moisture or cleaning-agent residue should not remain inside product pathways or on product-contact surfaces.
Before reassembly, inspect components for:
Cracks
Corrosion
Surface damage
Worn seals
Deformed gaskets
Damaged hoses
Loose fittings
Blocked openings
Excessive mechanical wear
Reassemble the machine according to the manufacturer’s instructions.
Confirm that:
Every seal is properly seated
Clamps and connectors are secure
Product hoses are correctly installed
Filling nozzles are aligned
Tube holders are correctly positioned
Sensors remain in alignment
Guards and safety devices are restored
No cleaning materials remain inside the machine
Step 13: Perform Startup and Verification Checks
After cleaning and reassembly, restore energy sources according to the approved startup procedure.
Conduct the required operational checks before resuming production.
These may include:
Empty-machine cycle
Tube-loading test
Sensor test
Nozzle-position check
Filling-volume test
Seal-temperature verification
Seal-pressure verification
Coding and trimming check
Finished-tube inspection
Run several test tubes using the approved material or test procedure.
Check the tubes for:
Correct filling volume
Clean tube exterior
Accurate product placement
Nozzle dripping
Straight and secure seal
Correct batch code
Clean trimming
Leakage or deformation
Do not approve the machine for production based on only one correctly filled tube.
Tube Filling Machine Preventive Maintenance Checklist
Cleaning and maintenance should be organized according to actual machine use, the processed product and manufacturer recommendations.
Routine operator checks
Clean accessible product-contact areas
Inspect the filling nozzle
Remove tube and product debris
Check tube-holder condition
Check sensor surfaces
Inspect the sealing area
Look for leaks or loose fittings
Verify finished-tube quality
Scheduled maintenance checks
Inspect filling-piston seals
Examine hoses and clamps
Check valve operation
Inspect pneumatic connections
Check drive belts and chains
Inspect bearings and guides
Verify filling calibration
Check sealing temperature and pressure
Inspect heaters and cooling components
Verify sensor alignment
Examine trimming tools
Test safety guards and interlocks
Periodic technical servicing
Inspect motors and gearboxes
Check electrical connections
Review PLC or control-system alarms
Test pneumatic and vacuum systems
Verify temperature controllers
Inspect heating assemblies
Check indexing accuracy
Replace worn seals and bearings
Review machine maintenance history
The appropriate maintenance interval should be based on operating hours and machine condition rather than an unsupported universal daily, weekly or monthly schedule.
Lubricating the Machine Correctly
Lubricate only the points identified by the machine manufacturer.
Use the specified lubricant, quantity and interval. Excessive lubrication can attract dirt or contaminate nearby product-contact and packaging areas.
Do not apply lubricant directly to:
Filling nozzles
Product-contact surfaces
Tube interiors
Sealing jaws
Sensors
Belts not designed for lubrication
Clean excess lubricant immediately and record completed lubrication where required.
Keep Cleaning and Maintenance Records
A tube filling machine cleaning log helps production and maintenance teams monitor machine condition and recurring faults.
The record may include:
Machine identification
Date and time
Product and batch
Reason for cleaning
Cleaning procedure followed
Cleaning agent used
Components removed
Operator name
Inspection results
Parts replaced
Maintenance performed
Test-cycle results
Approval for production
Records can also help identify repeated nozzle blockages, premature seal wear, recurring sensor faults and production conditions that require corrective action.
Common Tube Filling Machine Cleaning Mistakes
Avoid these common mistakes:
Cleaning without isolating the machine
Unexpected startup, pressure release or movement can expose operators to serious hazards.
Using unapproved chemicals
An unsuitable cleaning agent can damage seals, hoses, coatings or product-contact surfaces.
Spraying electrical components
Liquids can damage sensors, control panels, connectors and electrical systems.
Using abrasive cleaning tools
Steel wool and sharp scrapers can scratch surfaces and damage precision components.
Ignoring the sealing area
Product residue around sealing components can cause weak, contaminated or uneven seals.
Reassembling wet components
Remaining moisture can contaminate products or affect equipment surfaces and filling performance.
Failing to inspect seals and gaskets
Cleaning without inspection may allow worn parts to return to production and cause leakage or inaccurate dosing.
Changing machine settings unnecessarily
Routine cleaning should not alter calibrated filling, sealing or sensor settings unless adjustment is authorized and documented.
When Should You Call a Technician?
Stop using the machine and request qualified technical support when you identify:
Damaged wiring
Repeated electrical faults
PLC or touchscreen errors
Heating-system failure
Unstable sealing temperature
Damaged safety interlocks
Motor or gearbox problems
Severe pneumatic leakage
Cracked product-contact components
Persistent filling inaccuracies
Repeated weak or leaking seals
Abnormal vibration, heat or noise
Do not perform unauthorized repairs inside electrical, heating, servo, pneumatic or guarded mechanical assemblies.
Our detailed tube filling machine troubleshooting guide explains the common causes of filling, sealing, alignment and electrical problems.
When Is It Time to Upgrade the Machine?
Cleaning and maintenance can improve reliability, but they cannot correct a machine that no longer meets the required production process.
An upgrade may be appropriate when:
Filling accuracy remains inconsistent
The machine cannot process new product viscosities
It cannot handle the required tube material or size
Cleaning and changeovers take excessive time
Spare parts are difficult to source
Sealing failures continue after maintenance
Production capacity has increased
Existing equipment cannot integrate with upstream or downstream machines
Maintenance costs continue rising
The correct system should be selected according to product viscosity, tube material, tube dimensions, filling volume, sealing method, required output and cleaning requirements.
Frequently Asked Questions
How do you clean a tube filling and sealing machine?
Shut down and isolate the machine, remove tubes and remaining product, disassemble approved product-contact parts, clean the hopper and filling pathway, inspect the nozzle and sealing system, dry the components, reassemble the machine and complete verification tests.
How often should a tube filling machine be cleaned?
Cleaning frequency depends on the product, batch schedule, equipment design and approved facility procedure. Cleaning may be required after production, during product changeovers, following spills and at scheduled maintenance intervals.
What parts of a tube filling machine require the most cleaning?
The hopper, product hoses, dosing cylinder, valves, filling nozzle, tube holders, sealing area, trimming station and product-contact connections commonly require close attention.
Can water be used to clean a tube filling machine?
Water may be suitable for approved removable parts and washable product pathways, but it must not enter electrical, heating, control or other moisture-sensitive components. Follow the manufacturer’s cleaning instructions.
How can nozzle dripping be prevented?
Clean the nozzle and shut-off mechanism, inspect seals, verify product pressure and confirm that the filling settings are appropriate for the product viscosity.
Why do tube seals fail after cleaning?
Possible causes include moisture or product residue in the sealing area, incorrect component reassembly, altered sealing settings, damaged jaws or insufficient heating-system performance.
What maintenance does a tube sealing system require?
Maintenance may include cleaning sealing surfaces, inspecting heaters or ultrasonic components, checking temperature and pressure, examining cooling parts and replacing worn tooling according to the manufacturer’s schedule.
Get a Tube Filling Machine Recommendation
A reliable tube packaging system should match your product viscosity, tube material, tube size, filling volume, sealing method and required production speed.
Explore our automatic filling machine solutions or contact our team with your product details, tube samples and target output to receive a suitable machine recommendation.