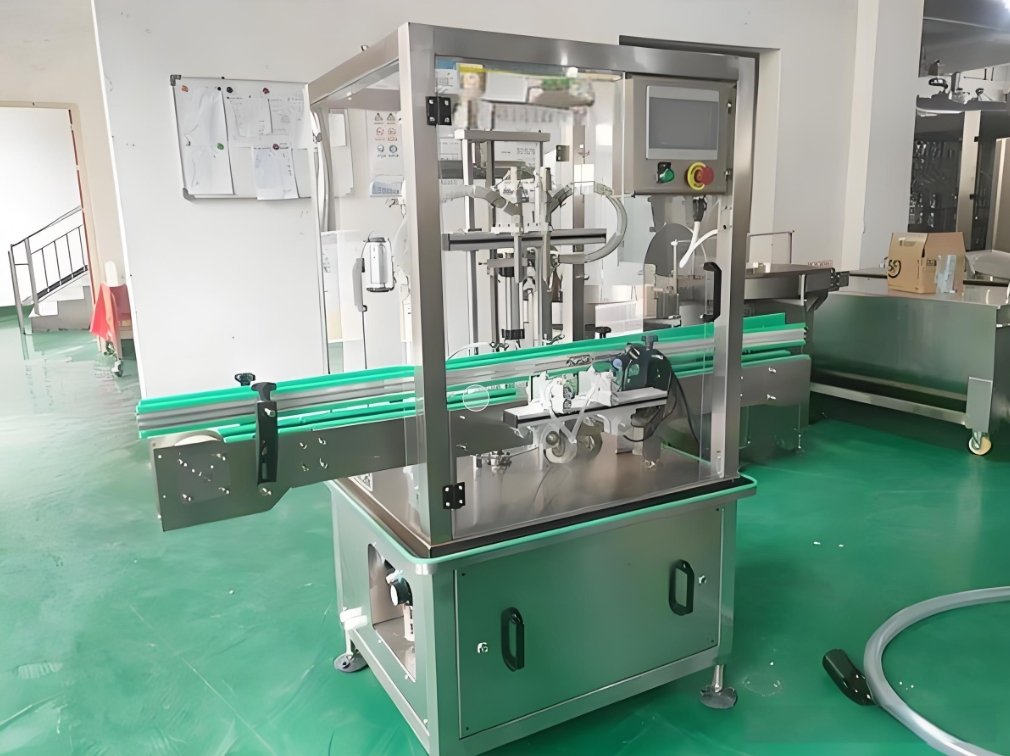
A Capsule Filling Machine must be accurate.
If it’s off, you waste time.
You waste powder.
You ruin capsules.
Customers lose trust.
Bad filling costs money.
So you need good calibration.
This guide is simple.
Each step helps you stay precise.
Your Automatic Filling Machine will work better too.
Let’s begin.
Why Calibration Matters
Calibration means adjusting the machine.
You make sure the fill weight is correct.
If the fill is too low, it’s a problem.
If it’s too high, that’s waste.
Bad fills fail inspections.
Accurate capsules build trust.
They protect your brand.
They protect patients too.
A well-calibrated Capsule Filling Machine saves money.
It also extends machine life.
When to Calibrate
Calibrate often.
Daily if possible.
At least weekly.
Before a big batch.
After cleaning.
When changing powders.
After maintenance.
If the room temperature changes a lot.
Each Automatic Filling Machine reacts to change.
Even small changes affect fill.
Frequent calibration avoids surprises.
Tools You Need
Use a digital scale.
Try to Use calibrated weights.
Use a stopwatch.
Have your product formula ready.
Use a clean surface.
Use a log sheet or software.
Record each change.
Check your Capsule Filling Machine manual too.
Each model is different.
Follow the rules.
Step 1: Power Off and Clean
Start with a clean machine.
Turn it off.
Unplug it.
Wipe all parts.
No powder should remain.
A dirty Capsule Filling Machine gives false readings.
So does an oily Automatic Filling Machine.
Clean first.
Always.
Step 2: Check Capsule Size
Make sure you’re using the correct capsule size.
Size 0, 00, or 1?
Match it to your product.
Use the right tray.
Wrong size means wrong fill.
The Capsule Filling Machine won’t calibrate well.
Accuracy starts with the capsule.
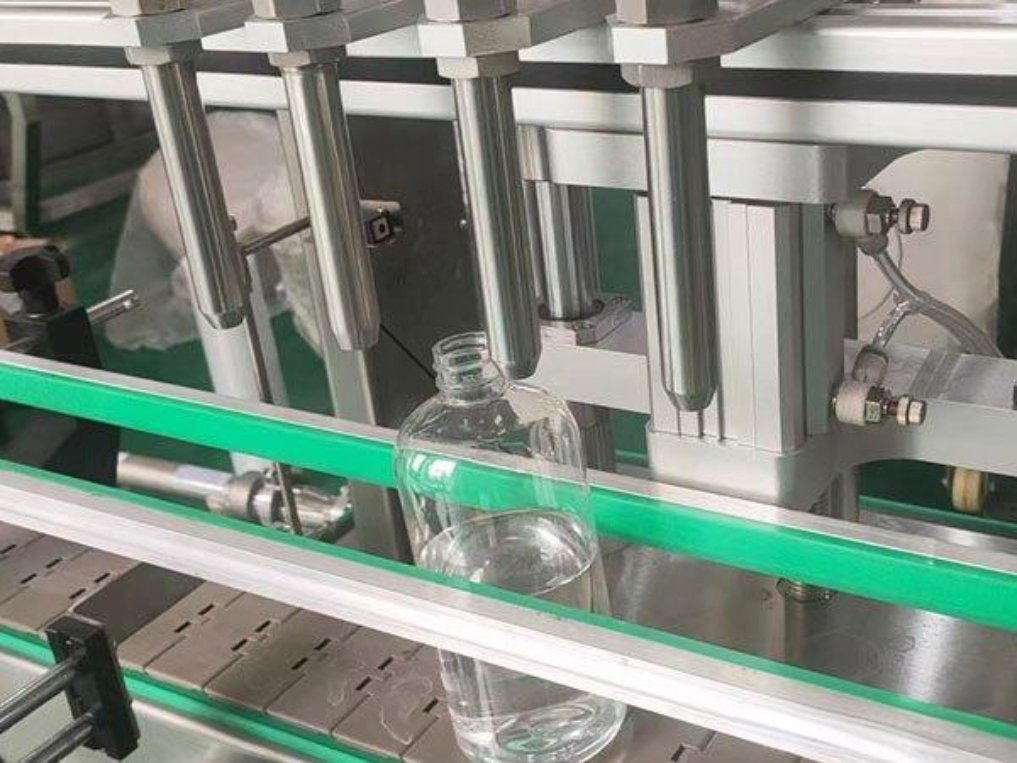
Step 3: Load the Powder
Add your filling material.
Use your real product.
Don’t use a test powder.
The weight, flow, and texture matter.
A test powder won’t behave the same.
Your Automatic Filling Machine adjusts to real texture.
So always use the real thing.
Step 4: Run a Trial Fill
Run 10 capsules.
Weigh each one.
Remove the capsule tops.
Weigh only the filled bottoms.
Use the digital scale.
Record the results.
This is your baseline.
Compare it to your target weight.
If it’s off, you adjust.
Step 5: Adjust Fill Settings
Check the dosing disk.
Adjust the depth.
Lower the disk for more powder.
Raise it for less.
Do it slowly.
Tiny changes matter.
Some Capsule Filling Machine models use a dial.
Some use a touchscreen.
Your Automatic Filling Machine might have auto-calibration.
Still, always check by hand.
Machine errors happen.
Step 6: Run and Measure Again
After adjustment, run another 10 capsules.
Weigh them again.
Did it improve?
If yes, repeat with more capsules.
If not, adjust again.
Keep testing until the weight is right.
Don’t rush this step.
Precision matters.
Your Capsule Filling Machine must hit the target.
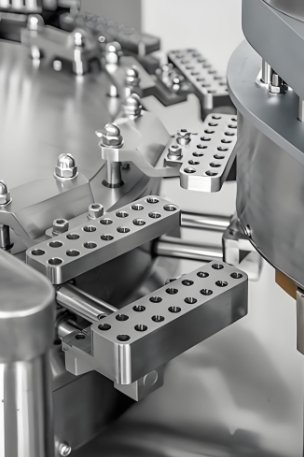
Step 7: Calibrate Capsule Separators
Some machines need to align capsules perfectly.
Misaligned capsules can leak powder.
They can also block filling.
Use the alignment tool.
Check pins and guides.
Adjust the separator if needed.
A misaligned capsule ruins accuracy.
Even your Automatic Filling Machine won’t fix that.
Step 8: Log the Settings
Once you reach the right fill weight, log it.
Write down all values.
Machine model.
Capsule size.
Powder type.
Dosing depth.
Fill time.
Record weights too.
This saves time later.
Your next calibration will be faster.
A smart Capsule Filling Machine logs data automatically.
If not, write it by hand.
Step 9: Watch for Consistency
Run a full batch.
Sample every 50 capsules.
Check for weight drift.
Drift means re-calibration.
It can happen from heat or powder changes.
An Automatic Filling Machine may self-adjust.
Still, double-check.
Manual checks always help.
Step 10: Use Calibration Software
Some machines use software tools.
They guide the process.
They track results.
Use it if your machine supports it.
It saves time.
It stores past data.
Your Capsule Filling Machine may come with a USB port.
Use it to transfer logs.
Modern machines support smart calibration.
Extra Tips
Don’t overfill the hopper.
It causes pressure.
It changes weight.
Use stable table stands.
Don’t calibrate on a shaky surface.
Avoid drafts and fans.
Airflow affects the scale.
Always weigh in grams.
Milligrams are too sensitive for most shops.
Unless you work in pharma labs.
Common Calibration Problems
Capsule Filling Machine not filling fully?
Check the dosing hole.
It may be blocked.
Check the vacuum.
No suction means no capsules.
Check powder flow.
Sticky powder clogs fast.
Humidity affects fill rate.
Even an Automatic Filling Machine struggles in moist air.
Keep your room dry.
Calibrate After Every Maintenance
Did you clean or oil the machine?
Did you change a part?
Calibrate after.
Even one new part affects fill.
Check after downtime too.
Never assume.
Always confirm.
Replace Worn Parts
If fill is off and calibration fails, check parts.
Worn bushings or loose screws ruin accuracy.
Change them right away.
Tighten bolts.
Replace old brushes.
A well-kept Capsule Filling Machine calibrates faster.
So does a well-maintained Automatic Filling Machine.
Train Your Team
Everyone should know how to calibrate.
Make it part of the training.
Use guides and charts.
Check each other’s work.
It keeps everyone sharp.
One mistake can spoil thousands of capsules.
Teach them the value of good calibration.
Calibration is key.
It saves money.
This saves time.
It improves product quality.
A calibrated Capsule Filling Machine fills better.
An accurate Automatic Filling Machine runs faster.
Follow these steps.
Use good tools.
Log everything.
Repeat often.
Furthermore, you keep your machine and your business in top shape when you prioritize regular maintenance. Consequently, you can explore more ways to scale your small business operations through official industry resources.