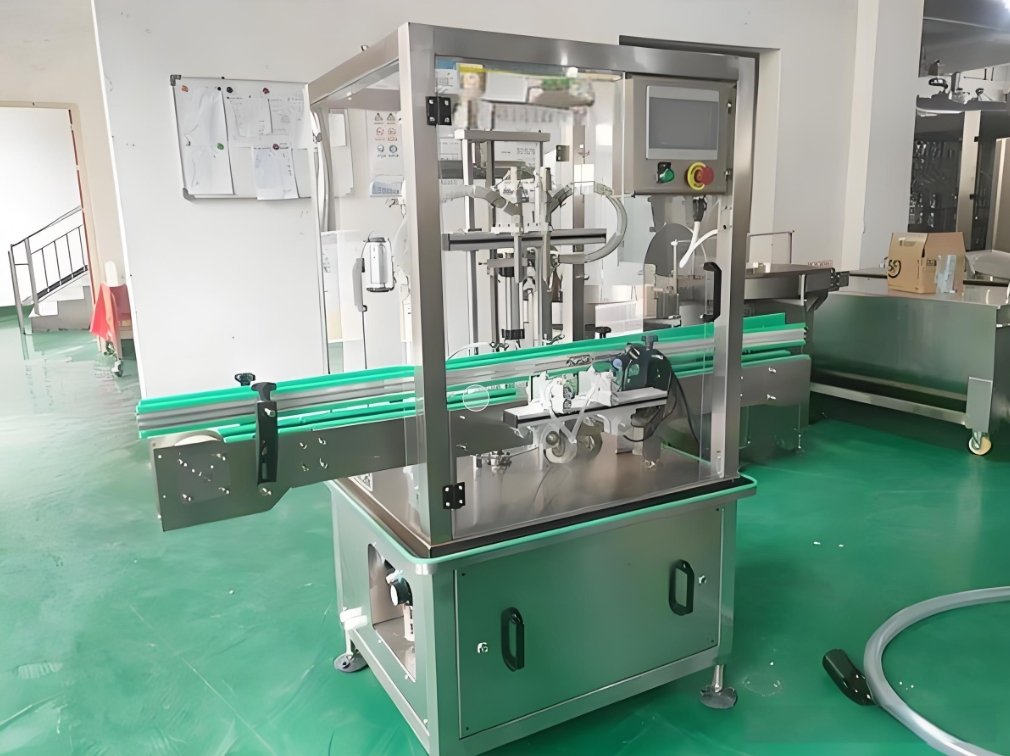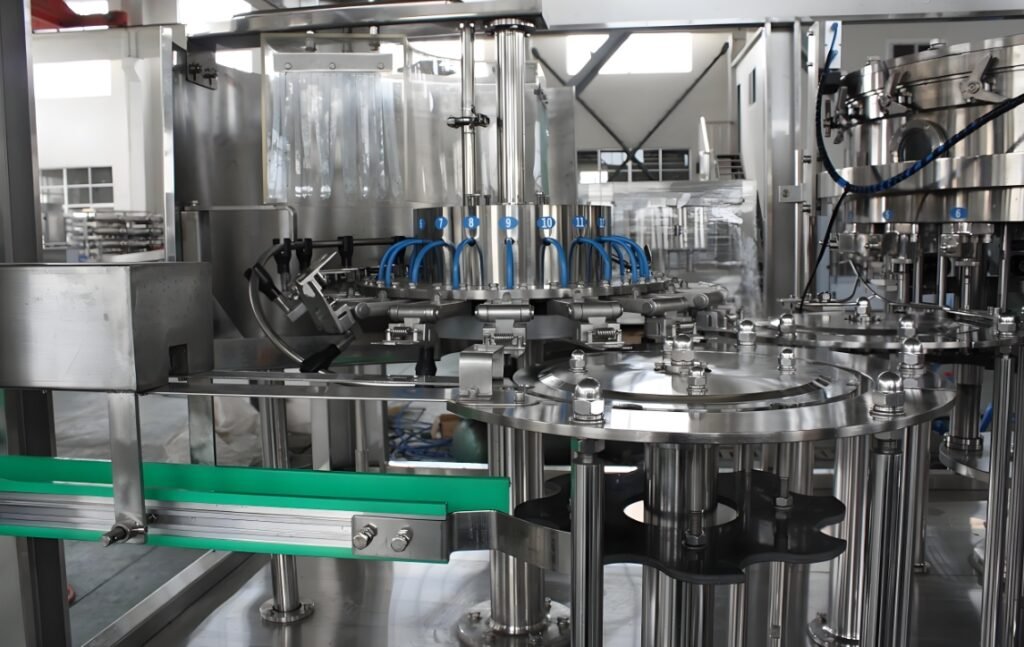
Filling machine problems and solutions can vary considerably depending on whether the equipment handles liquids, powders, granules, creams, pastes, or products containing particles. Nevertheless, most filling faults can be traced to product-flow changes, incorrect machine settings, worn components, unstable utilities, poor container handling, contamination, or inadequate preventive maintenance.
Effective filling machine troubleshooting begins with identifying the exact symptom instead of changing several settings at once. An inaccurate liquid filling machine may have a pressure, nozzle, viscosity, or calibration problem. Meanwhile, a powder filling machine may produce weight variation because of powder bridging, inconsistent bulk density, auger wear, or poor hopper feeding.
This guide explains the most common filling machine faults, their likely causes, safe operator-level checks, and the situations in which professional repair is required.
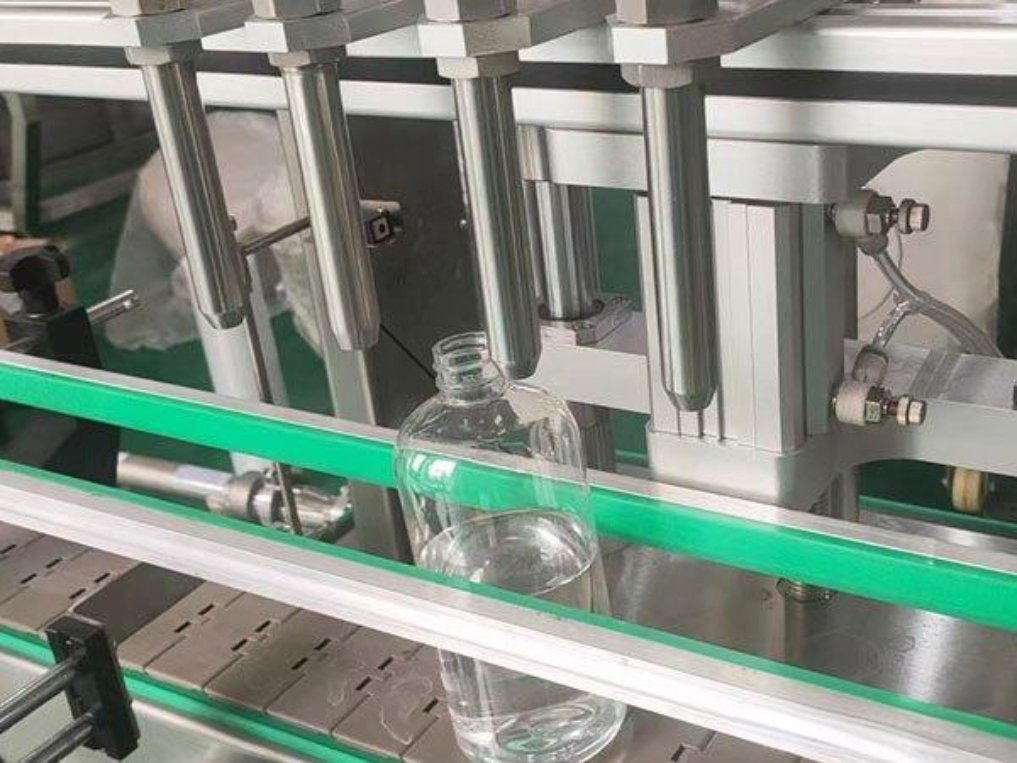
Quick Filling Machine Troubleshooting Table
| Problem | Likely causes | First checks |
|---|---|---|
| Machine will not start | Emergency stop engaged, power failure, guard open, low air pressure or control fault | Check power, emergency stops, guards, alarms and utilities |
| No product is dispensed | Empty hopper, blocked nozzle, closed valve, pump fault or incorrect recipe | Check product supply, valves, pathway and machine settings |
| Inconsistent fill levels | Air in the system, poor calibration, viscosity changes, worn seals or unstable feeding | Prime the system, verify product conditions and test calibration |
| Underfilling | Restricted product flow, low pressure, short fill time, blockage or material starvation | Inspect supply, pressure, nozzle, hopper level and recipe |
| Overfilling | Excessive fill time, incorrect target, delayed valve closing or unstable pressure | Verify fill target, cutoff timing, pressure and calibration |
| Nozzle dripping | Worn seal, unsuitable nozzle, residual pressure, product buildup or poor cutoff timing | Clean the nozzle and inspect seals, valves and suck-back settings |
| Foaming or air bubbles | Excessive speed, air leaks, high nozzle position or unsuitable filling method | Reduce speed, check suction leaks and use bottom-up filling |
| Product leakage | Loose connections, damaged O-rings, excessive pressure or cracked hoses | Isolate the machine and inspect the entire product pathway |
| Bottles jam or tip | Incorrect guide width, unstable conveyor, poor spacing or excessive filling force | Adjust guides, conveyor speed, bottle stops and nozzle position |
| Sensor does not detect containers | Dirty lens, misalignment, loose wiring or incorrect sensitivity | Clean, realign and test the sensor |
| Powder weight variation | Bridging, inconsistent density, auger wear, poor agitation or unstable product level | Condition the powder, inspect the auger and stabilize feeding |
| Low production speed | Blockages, wrong settings, worn parts, slow feeding or repeated micro-stoppages | Compare actual cycle times with the approved production recipe |
| Machine overheats | Poor ventilation, overload, worn bearing, electrical fault or continuous heavy operation | Stop safely and inspect load, ventilation and mechanical condition |
Safety Before Troubleshooting a Filling Machine
Never reach into a filling machine, remove a guard, clear a serious jam, disconnect a pressurized hose, or work on an electrical panel while the equipment may start unexpectedly.
Before maintenance or repair:
Stop the filling cycle.
Remove containers from the immediate hazard area.
Shut down the machine according to its operating procedure.
Isolate electrical, pneumatic, hydraulic, thermal, vacuum, and product-pressure energy where applicable.
Release or restrain stored energy.
Follow the facility’s lockout/tagout procedure.
Allow only authorized personnel to perform technical repairs.
OSHA’s hazardous-energy standard covers servicing and maintenance when unexpected machine startup or stored-energy release could injure an employee. OSHA also identifies some jam-clearing activities as servicing work that may require hazardous-energy control.
The checks in this guide are general. The machine manual, approved operating procedures, safety assessment, and qualified technician’s instructions always take priority.
A Five-Step Filling Machine Diagnostic Process
Randomly changing pressure, speed, fill time, and sensor settings can hide the real cause and create additional faults. Instead, use a controlled diagnostic sequence.
Step 1: Define the exact symptom
Record what the machine is doing rather than describing it only as “not working.”
Useful observations include:
Every container is underfilled.
Only one filling head is inaccurate.
The machine runs correctly when cold but becomes inconsistent later.
The nozzle drips only after stopping.
Bottles jam at the infeed.
Powder weight changes as the hopper empties.
The machine stops after a particular alarm.
The fault began after changing the product or container.
A precise symptom makes root-cause analysis faster.
Step 2: Determine what changed
Ask whether the fault began after:
A product change.
A new batch or formulation.
A temperature change.
A different container.
A nozzle replacement.
Cleaning and reassembly.
Software or recipe adjustment.
Maintenance work.
A production-speed increase.
A change in compressed-air or power supply.
The latest change is often closely connected to the fault.
Step 3: Verify basic utilities and supplies
Confirm that the machine has:
Stable electrical power.
Correct compressed-air pressure and flow.
Adequate product supply.
Correct hopper level.
Open valves.
Proper vacuum, steam or water supply where required.
No active emergency stop.
Closed safety guards.
No unresolved HMI or PLC alarms.
Step 4: Compare settings with the approved recipe
Check the current settings against the last known successful production setup.
Review:
Fill volume or target weight.
Fill time.
Pump or piston speed.
Nozzle timing.
Conveyor speed.
Container delay.
Sensor position.
Diving-nozzle movement.
Suck-back setting.
Agitator speed.
Hopper temperature.
Auger revolutions.
Vibration settings.
Change one parameter at a time and document the result.
Step 5: Run a controlled test
Use the actual production product and container whenever possible.
Test several consecutive containers and record:
Empty container weight.
Filled container weight.
Net product weight.
Variation between filling heads.
Cycle time.
Reject reason.
Product temperature.
Machine pressure.
Any visible dripping, foaming or air pockets.
This separates an isolated bad container from a repeatable machine fault.
1. Filling Machine Will Not Start
A machine that does not start may have an electrical, pneumatic, safety, control, or mechanical problem.
Likely causes
Main isolator is off.
Emergency stop is pressed.
Safety guard or door is open.
Circuit breaker has tripped.
Compressed-air pressure is too low.
Motor overload has activated.
PLC or HMI shows an unresolved alarm.
A sensor is preventing the cycle.
The selected recipe contains invalid settings.
A mechanical component is jammed.
Troubleshooting steps
Read the HMI or control-panel alarm.
Confirm that every emergency stop is released.
Check that guards and safety doors are correctly closed.
Verify the approved electrical and air supplies.
Confirm that the machine is in the correct operating mode.
Check whether a downstream machine is preventing startup.
Inspect the visible machine area for an obstruction.
Do not repeatedly reset a breaker, overload, or safety circuit. Repeated tripping indicates a fault that should be investigated by qualified personnel.
2. Machine Runs but Does Not Dispense Product
When the machine cycles but no material enters the container, the cause is usually somewhere between the product source and the filling nozzle.
Likely causes
Hopper or supply tank is empty.
Product valve is closed.
Nozzle, hose, pump, auger or funnel is blocked.
Pump is not primed.
Piston is not drawing product.
Powder has bridged inside the hopper.
Granules are trapped above the discharge gate.
Valve actuator is not receiving air.
Fill target is set to zero.
Container-detection sensor is not activated.
Product is too thick or too cold for the configuration.
Solutions
Refill and correctly feed the hopper.
Open the approved product valves.
Prime liquid product lines.
Remove product-path blockages using the approved procedure.
Check piston, pump, auger, valve and actuator movement.
Verify that the selected recipe contains a valid fill quantity.
Stabilize product temperature when the formulation permits it.
Inspect powder or granule flow inside the hopper.
If the product repeatedly blocks the machine, the underlying problem may be unsuitable nozzle diameter, hose size, pump type, auger design, hopper angle, agitation, or product conditioning.
3. Inconsistent Fill Levels
Inconsistent filling is one of the most commercially damaging faults because it creates underfilled packages, unnecessary overfill, rejected containers, and unreliable production data.
Likely causes
Air trapped in a liquid pathway.
Product viscosity or temperature changes.
Unstable product pressure.
Changing hopper level.
Worn piston seals.
Leaking check valves.
Partially blocked nozzles.
Loose mechanical adjustment.
Different settings between filling heads.
Container-weight variation.
Inconsistent powder density.
Calibration drift.
Poorly synchronized conveyor and nozzle timing.
Solutions
Prime the machine and remove trapped air.
Stabilize product temperature and formulation.
Maintain consistent hopper feeding.
Clean every filling head.
Inspect seals, valves and pistons.
Compare settings between nozzles.
Test each filling head separately.
Verify the measurement method.
Recalibrate using the actual product.
Record the results across a representative sample.
For products sold by declared weight, volume, or count, package-content control should follow the regulations and testing procedures applicable to the target market. NIST Handbook 133 provides current U.S. procedures for checking the net contents of packaged goods.
4. Filling Machine Underfills Containers
Underfilling may affect every container or only one filling head.
Common causes
Fill quantity is set too low.
Filling time is too short.
Pump or piston stroke is insufficient.
Nozzle is restricted.
Product supply is interrupted.
Hopper level is too low.
Air enters the suction line.
Valve does not open fully.
Powder is bridging.
Granular material is feeding inconsistently.
Product density changed.
Scale or load cell is incorrectly calibrated.
Corrective actions
Confirm the target volume or weight.
Check product supply and hopper level.
Inspect the nozzle, hose, valve and filter.
Remove air from liquid systems.
Verify piston stroke or pump revolutions.
Check auger movement and powder condition.
Inspect scale zero and calibration.
Compare the faulty head with a correctly operating head.
Run a measured test after each adjustment.
Do not compensate for a mechanical problem by simply increasing the fill setting. That may temporarily hide the fault while increasing variation or overfilling elsewhere.
5. Filling Machine Overfills or Overflows
Overflow and product spillage may result from dosing errors, delayed cutoff, poor bottle positioning, or unstable product behavior.
Likely causes
Fill target is too high.
Valve closes too slowly.
Excessive product pressure.
Container size changed.
Incorrect bottle is on the line.
Nozzle is too high.
Sensor timing is incorrect.
Foaming continues after the liquid flow stops.
Conveyor movement begins too late.
The scale or measurement system is inaccurate.
Solutions
Verify the correct container and recipe.
Reduce the fill target only after confirming calibration.
Check valve-closing and nozzle-cutoff timing.
Stabilize liquid pressure.
Adjust nozzle height and bottle position.
Reduce speed for foaming or splash-prone products.
Inspect the scale or volumetric measuring component.
Run a low-speed test before returning to normal output.
6. Nozzle Dripping After the Fill Cycle
Nozzle dripping may contaminate containers, labels, conveyor belts, sensors, and the production floor.
Likely causes
Worn nozzle seal.
Damaged valve seat.
Product residue prevents complete closure.
Excessive residual line pressure.
Incorrect suck-back setting.
Unsuitable nozzle design.
Product is too warm, thin, sticky, or stringy.
Fill cutoff occurs too late.
Piston or pump continues applying pressure.
Nozzle is damaged or incorrectly assembled.
Solutions
Clean and inspect the nozzle.
Check the shut-off mechanism.
Inspect O-rings, seals and valve seats.
Verify product pressure.
Adjust cutoff and suck-back settings.
Reduce the final filling speed.
Confirm that the nozzle suits the product.
Replace worn components with compatible parts.
Different products require different filling machine nozzle types. A free-flowing liquid, sticky sauce, foaming beverage, viscous cream, and particulate product should not automatically use the same nozzle configuration.
For a deeper diagnosis, review the guide to filling machine leakage problems.
7. Product Leaks from Hoses, Pumps, Pistons or Fittings
External leakage is not always a nozzle problem.
Common leakage points
Hose connections.
Clamps.
Threaded fittings.
Pump seals.
Piston-cylinder seals.
Valve bodies.
Tank outlets.
Gaskets.
Cracked tubing.
Pressure regulators.
Product manifolds.
Causes
Seal wear.
Chemical incompatibility.
Excessive pressure.
Incorrect assembly.
Loose fittings.
Vibration.
Damaged sealing surfaces.
Hardened or swollen elastomers.
Excessive temperature.
Abrasive product.
Corrective actions
Stop and isolate the machine safely.
Identify the exact leakage point.
Inspect the fitting and sealing surfaces.
Verify the correct seal material and dimensions.
Replace damaged components.
Tighten fittings according to the manufacturer’s requirements.
Confirm that pressure and temperature remain within specification.
Test at low speed before restarting full production.
Food, pharmaceutical, cosmetic, and chemical operations should verify that replacement contact materials are compatible with the product and cleaning process.
8. Air Bubbles or Foaming in Filled Containers
Air bubbles and foam can produce apparent underfills, overflow, poor package appearance, and inaccurate volumetric results.
Likely causes
Filling speed is too high.
Nozzle is too far above the product.
Air enters through a suction leak.
Pump is not properly primed.
Product was aerated during mixing.
Return flow creates turbulence.
Nozzle diameter is unsuitable.
Liquid temperature changed.
Product falls too far into the container.
The filling method does not suit the formulation.
Solutions
Reduce initial or final filling speed.
Use a two-stage filling profile.
Position the nozzle closer to the container bottom.
Use bottom-up filling when appropriate.
Prime the pump and product pathway.
Inspect suction-side hoses and seals.
Allow an aerated product to settle when the process permits.
Review the upstream mixing method.
Use an appropriate diving or overflow nozzle.
Do not add an antifoaming chemical unless it is approved for the formulation, process, product safety requirements, and target market.
9. Bottles Jam, Tip or Become Misaligned
Container-handling problems may occur before, during, or after filling.
Likely causes
Guide rails are too tight or too loose.
Conveyor speed is unstable.
Bottles arrive with inconsistent spacing.
Container base is uneven.
Bottle stop or indexing gate is mistimed.
Filling force moves lightweight containers.
Nozzle does not align with the opening.
Container sensors are incorrectly positioned.
A downstream capper or labeler is backing up the line.
Conveyor belt is worn, wet or contaminated.
Solutions
Clean and inspect the conveyor.
Adjust guide rails to support the container without restricting it.
Stabilize bottle spacing.
Check the indexing gate and timing.
Align nozzles with container openings.
Reduce filling force or speed when necessary.
Add container support for lightweight bottles.
Synchronize filling with upstream and downstream equipment.
Test at reduced speed before increasing output.
Frequent jamming may indicate that the machine was not designed for the current container shape, material, dimensions, or production speed.
10. Sensors Fail to Detect Bottles
Automatic filling machines depend on sensors to detect containers, control filling, confirm position, and prevent product discharge when no bottle is present.
Likely causes
Dirty sensor lens.
Product residue or dust.
Incorrect sensor angle.
Poor sensitivity setting.
Transparent or reflective container.
Loose cable.
Damaged connector.
Electrical noise.
Unstable mounting bracket.
Wrong PLC input configuration.
Solutions
Clean the sensor using the approved method.
Realign it with the target.
Check the mounting bracket.
Verify the indicator light and PLC input.
Test sensitivity using the actual container.
Inspect visible cables and connectors.
Use a sensor suitable for transparent, dark, reflective, or irregular containers.
Ask a qualified technician to investigate wiring or control faults.
Do not bypass a safety-related sensor to keep production running.
11. Powder Filling Machine Failure and Weight Variation
Powder-filling faults are different from liquid-filling faults. Powder can compact, bridge, aerate, absorb moisture, separate, or change bulk density during production.
Common symptoms
Inconsistent fill weight.
Auger turns but little powder is discharged.
Hopper bridges above the auger.
Excessive dust escapes.
Powder spills around the container.
Product packs tightly inside the tooling.
Fill weight changes as the hopper empties.
Auger or agitator produces unusual noise.
Powder remains inside the funnel.
Likely causes
Variable bulk density.
Powder aeration.
Moisture absorption.
Poor hopper agitation.
Worn auger or tooling.
Incorrect auger speed.
Unsuitable funnel or outlet.
Inconsistent hopper level.
Product separation.
Excessive vibration.
Static electricity.
Incorrect container positioning.
Solutions
Condition the product consistently before filling.
Stabilize hopper level.
Verify agitator and auger operation.
Inspect the auger, funnel and tooling for wear.
Check whether the powder has absorbed moisture.
Recalibrate using the actual production batch.
Reduce dust using appropriate extraction and enclosure.
Confirm that the machine design matches the powder’s flow characteristics.
Test several hopper levels to identify feeding variation.
A machine selected for a free-flowing powder may not perform correctly with a cohesive, dusty, oily, moisture-sensitive, or highly aerated formulation.
12. Granule Filling Machine Produces Inconsistent Portions
A granule filling machine may use volumetric cups, vibratory feeding, counting, or weighing technology.
Likely causes
Product pieces vary considerably in size.
Vibratory feeder settings are unstable.
Weighing system is not correctly zeroed.
Load cell is affected by vibration.
Product bridges inside the hopper.
Gate timing is incorrect.
Granules bounce out of the container.
Dust or fragments interfere with the weighing mechanism.
Product supply is inconsistent.
Solutions
Stabilize product feeding.
Clean the weighing and discharge area.
Verify scale zero and calibration.
Isolate the weighing system from external vibration.
Adjust coarse and fine feeding stages.
Check discharge-gate timing.
Position the container correctly.
Use a suitable chute or funnel.
Inspect the product for excessive size variation or breakage.
13. Filling Machine Runs Too Slowly
Low output is not always caused by the filler itself. The bottleneck may be at the container infeed, capping machine, labeling machine, conveyor, inspection station, or product-supply system.
Likely causes
Fill speed is set too low.
Product pathway is restricted.
Nozzle is undersized.
Product is too cold or viscous.
Hopper refilling interrupts production.
Containers arrive inconsistently.
Machine repeatedly pauses for sensor faults.
Operators perform frequent manual adjustments.
Worn mechanical components increase cycle time.
A downstream machine repeatedly stops the line.
Solutions
Measure each stage of the actual cycle.
Review downtime and alarm records.
Inspect product flow.
Verify nozzle and hose sizing.
Stabilize container feeding.
Correct recurring micro-stoppages.
Coordinate conveyor, filler, capper and labeler speeds.
Create standard changeover settings.
Replace worn parts.
Upgrade the bottleneck rather than increasing filler speed blindly.
14. Machine Overheats, Vibrates or Makes Unusual Noise
Unusual noise, vibration, heat, smell, or repeated overload alarms should not be ignored.
Possible causes
Worn bearing.
Misaligned coupling.
Loose fastener.
Pump cavitation.
Restricted ventilation.
Motor overload.
Incorrect lubrication.
Damaged gearbox.
Excessive product pressure.
Foreign object inside a moving mechanism.
Electrical fault.
Required response
Stop the machine safely and arrange inspection by qualified maintenance personnel. Continuing to operate equipment with abnormal heat, vibration, or noise can increase damage and create a safety risk.
Filling Machine Calibration Best Practices
Calibration should be based on the filling principle.
Volumetric systems
Verify the actual dispensed quantity from the piston, pump, timing system, flow meter, or measuring chamber.
Net-weight systems
Check scale zero, test weights, load-cell stability, container tare, vibration, and cutoff timing.
Auger powder fillers
Verify auger revolutions, product density, tooling condition, hopper level, and sample weight.
Granule weighers
Check load cells, coarse and fine feed stages, vibration, gate operation, and target weight.
Recommended calibration process
Use the actual product.
Use the actual container.
Stabilize temperature and product condition.
Prime or condition the machine.
Fill a representative sample.
Measure net content.
Calculate variation.
Adjust one setting at a time.
Retest.
Save the approved recipe.
Document the result.
Calibration frequency should follow the machine manufacturer’s instructions, the facility’s quality system, production risk, applicable regulations, and observed process performance. It should also be reviewed after significant product, container, tooling, repair, or setup changes.
Preventive Filling Machine Maintenance Checklist
Before every shift
Inspect guards and emergency stops.
Check for visible leaks.
Confirm utilities.
Verify the correct recipe.
Inspect nozzles and product pathways.
Check hopper level.
Run sample containers.
Confirm fill accuracy.
Review active alarms.
During production
Monitor fill quantity.
Check for dripping and spillage.
Inspect bottle alignment.
Watch product temperature and pressure.
Monitor powder or granule flow.
Record stoppages.
Listen for abnormal noise.
Check rejected containers.
After every production run
Remove remaining product safely.
Complete the approved cleaning procedure.
Inspect nozzles, hoses, valves and seals.
Clean sensors and conveyors.
Record faults.
Identify parts requiring replacement.
Save approved machine settings.
Weekly or usage-based tasks
Inspect fittings and fasteners.
Check pneumatic components.
Inspect pump, piston or auger wear.
Test sensor alignment.
Review lubrication requirements.
Check conveyor condition.
Compare filling-head accuracy.
Review downtime records.
Monthly or scheduled tasks
Inspect electrical and control enclosures through qualified personnel.
Test calibration.
Inspect motors, bearings and gearboxes.
Review spare-parts inventory.
Examine hoses, seals and gaskets.
Review recurring alarms.
Verify safety-device operation.
Update maintenance records.
The exact schedule must be based on the machine manual, operating hours, product characteristics, cleaning chemicals, environmental conditions, and regulatory requirements.
For a complete sanitation process, use the filling machine cleaning guide.
FDA requirements for regulated drug and dietary-supplement operations emphasize suitable equipment design, cleaning, maintenance, and sanitation of filling and packaging equipment. The exact requirements depend on the product and facility.
When to Stop Troubleshooting and Contact a Technician
Stop operator-level troubleshooting when:
A safety device is not functioning.
A breaker or overload repeatedly trips.
Electrical components smell burnt or overheat.
A motor, gearbox, bearing or pump makes abnormal noise.
A pressurized component is damaged.
The machine has a recurring PLC, servo or drive fault.
A guard, interlock or emergency stop has failed.
Product-contact materials are damaged.
A repair requires bypassing a safety system.
The fault remains after approved cleaning, priming, setup and calibration.
Fill accuracy cannot be restored.
The same component repeatedly fails.
Professional support may involve remote diagnostics, software review, replacement parts, control-system inspection, mechanical repair, recommissioning, or operator retraining.
Repair, Rebuild or Replace the Filling Machine?
Repair may be appropriate when:
The machine still meets production capacity.
Replacement parts remain available.
The fault is limited to a serviceable component.
Controls and safety systems remain supportable.
Changeover time is acceptable.
Repair cost is proportionate to machine value.
A rebuild or upgrade may be more suitable when:
Fill accuracy has gradually deteriorated.
Several mechanical systems are worn.
Controls or sensors are obsolete.
Spare parts are difficult to obtain.
Downtime is recurring.
The machine cannot handle current products or containers.
Safety upgrades are necessary.
Production demand exceeds practical capacity.
Replacement may be justified when the existing equipment creates a persistent bottleneck, cannot meet quality requirements, or costs more to maintain than a correctly specified modern system.
Frequently Asked Questions
What are the most common filling machine problems and solutions?
The most common problems are inaccurate fills, underfilling, overfilling, nozzle dripping, leaks, foaming, air bubbles, container jams, sensor faults, product blockages, unstable powder flow, and low production speed. The correct solution depends on the machine type, product, container, settings, and worn components.
Why is my manual filler causing product spillage?
A manual filler may spill product because the container is poorly positioned, the nozzle is too high, the product is filled too quickly, the cutoff valve is worn, the container is overfilled, or pressure remains inside the product pathway after dispensing.
Why does an automatic liquid filler produce inconsistent fill levels?
Common causes include trapped air, unstable liquid pressure, changing viscosity, product-temperature variation, worn piston seals, leaking valves, partially blocked nozzles, and incorrect calibration.
What causes insufficient filling in a liquid filling machine?
Insufficient filling can result from a low fill setting, air in the system, a restricted nozzle, low hopper level, weak pump performance, suction leakage, valve failure, or a product that is too viscous for the current configuration.
How do I stop liquid filling machine foaming and dripping?
Reduce the filling speed, use bottom-up filling, position the nozzle correctly, remove air leaks, stabilize product temperature, use an appropriate anti-drip nozzle, inspect cutoff seals, and adjust the final filling stage.
Why does a powder filling machine malfunction?
Powder fillers often malfunction because of powder bridging, moisture, variable density, aeration, worn augers, unsuitable tooling, static, inconsistent hopper levels, or poor calibration.
How frequently should a filling machine be maintained?
Daily inspections and cleaning are appropriate for many production environments, while detailed servicing should follow operating hours, product risk, machine condition, and the manufacturer’s schedule. There is no universal maintenance interval for every filler.
Can one filling machine handle different products and containers?
Many machines can handle multiple formats, but each product and container may require different nozzles, hoses, seals, tooling, recipes, guide settings, temperatures, pressures, and cleaning procedures.
When should I request filling machine service?
Request professional service when a fault involves electrical systems, safety devices, PLCs, drives, repeated overloads, abnormal noise, persistent accuracy problems, major leakage, structural damage, or a repair beyond authorized operator work.
Get Professional Filling Machine Support
Good filling machine troubleshooting should restore safe, accurate and repeatable production—not merely restart the machine temporarily.
Foshan Popper Machinery supports liquid, powder, granule, bottle, sauce, can, capsule, and automatic filling equipment. Our team can assist with machine selection, configuration, filling tests, spare parts, installation guidance, technical support, and production-line planning.
To help diagnose your machine, provide:
Machine model.
Product type.
Filling quantity.
Container dimensions.
Required production speed.
Current fault or alarm.
Photos of the affected component.
A short video showing the problem.
Current machine settings.
Electrical and compressed-air specifications.
Information about any recent product or setup change.
Contact the filling machine technical team or review our installation and after-sales services for professional support.