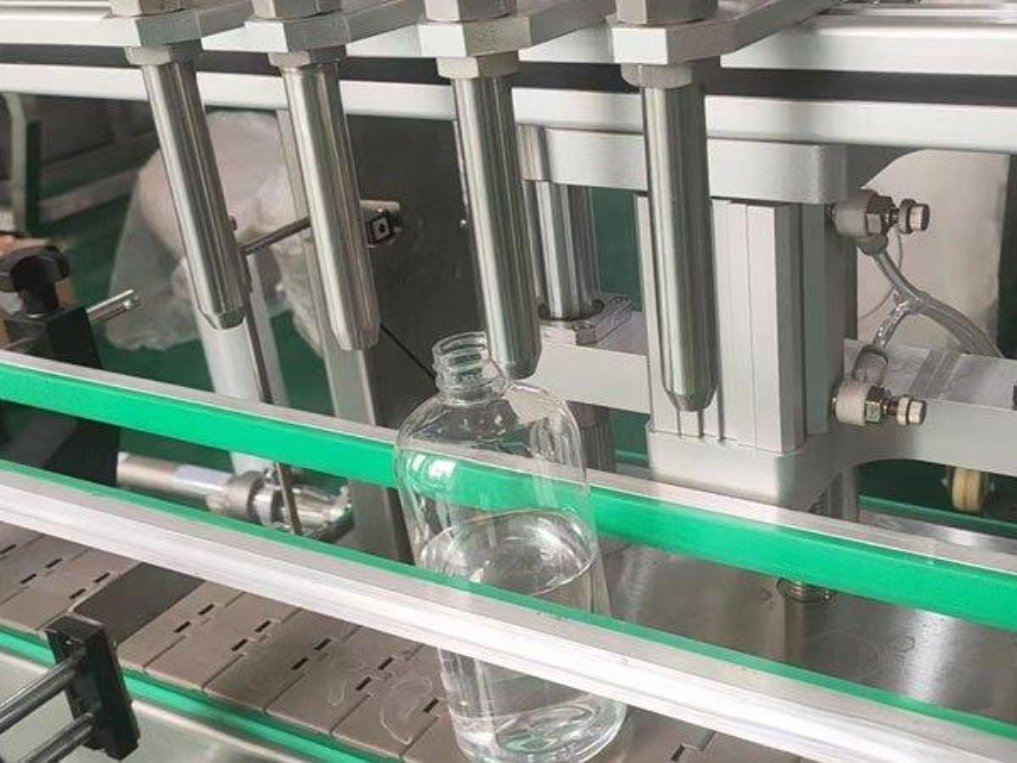
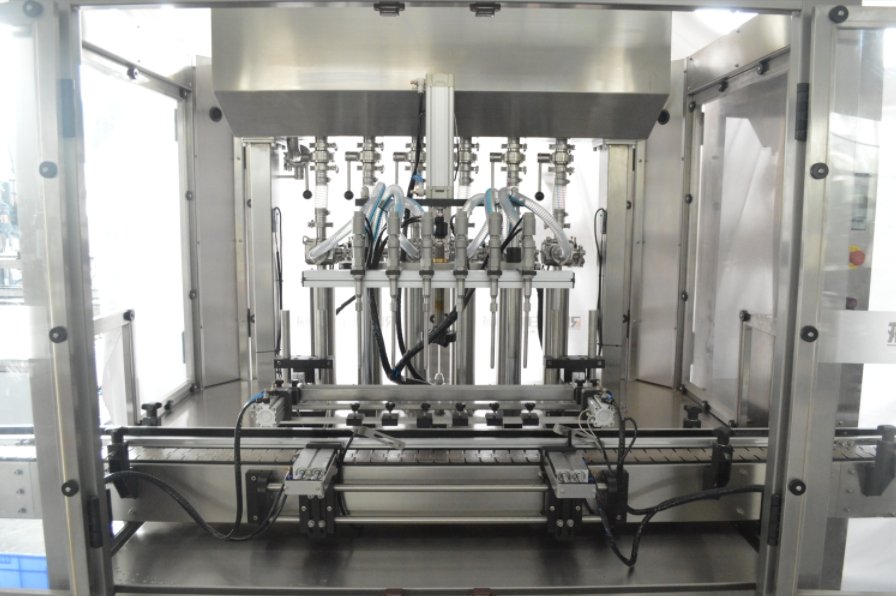
When one nozzle underfills every bottle, the first place to check is that filling head. When every nozzle starts underfilling after a product change, check the recipe, liquid temperature, and supply first. That distinction can save a production team from recalibrating an entire filler while a blocked nozzle or an interrupted supply continues to waste product.
Effective liquid filling machine troubleshooting starts with three observations: which heads are affected, when the fault occurs, and what changed before it appeared. Operators can use the table below to identify a first check for inaccurate fills, interrupted flow, foam, leaks, and stoppages. Production managers can use the same observations to decide when a fault needs maintenance support. For faults that also affect other types of equipment, see the broader guide to filling machine problems and solutions.
| Problem | Possible Cause | Recommended First Check |
|---|---|---|
| Fill volume varies between bottles | Trapped air, fluctuating inlet pressure, or a worn seal on one head | Measure consecutive fills from each head separately. |
| Little or no liquid dispenses | Low supply, a closed valve, a blocked nozzle, or a missing fill signal | Check the tank level and whether the control panel registers a bottle and commands a fill. |
| Foam rises during filling | A fast initial jet, a long drop into the bottle, or a foam-prone formulation | Observe when foam first forms during a guarded test fill. |
| Liquid leaks from the machine | A damaged hose, worn gasket, loose fitting, or excessive pressure | From a safe position, identify where liquid first appears. |
| Production runs slowly | Restricted flow, a slow refill stroke, or repeated waits between bottles | Time one cycle and identify which stage takes longer than usual. |
| Bubbles remain in the product | Incomplete priming, a suction leak, or aeration during mixing | Compare the product in the supply tank with a freshly filled sample. |
| Bottles jam during operation | Incorrect guides, poor spacing, or mistimed indexing after changeover | Record where the first bottle stops or tips. |
| Nozzle drips after cutoff | Product residue, a worn valve seat, or incorrect shut-off timing | Note whether one drop falls or liquid continues to seep between cycles. |
| Fills consistently miss the target | Wrong recipe, incorrect tare, calibration error, or metering wear | Independently measure the net quantity and compare it with the recipe target. |
| Machine loses power or stops unexpectedly | Supply interruption, an interlock, an overload, or an electrical fault | Record the displayed alarm and whether the control panel stayed on. |
How to troubleshoot 10 common liquid filling machine problems
Before hands-on work: Operators can review alarms, read installed gauges, and observe a normal cycle with guards in place. Before clearing a jam, removing a nozzle, disconnecting a hose, or servicing a drive, have authorized personnel follow the machine manual and site lockout/tagout procedure. Isolate the applicable energy sources, relieve or restrain stored energy, and verify isolation. An emergency stop alone does not establish safe isolation. Occupational Safety and Health Administration
1. Inconsistent filling volumes
If consecutive bottles alternate between short and heavy fills, label samples by filling head and cycle. Check the actual quantity in each bottle. Differences in bottle shape or foam height can make equal quantities look uneven.
If one head varies, inspect its nozzle for residue or damage and check its valve and piston seals for wear after isolation. If several heads vary together, look for a falling tank level, fluctuating supply pressure, incomplete priming, or a change in product temperature. A cooler, more viscous liquid may take longer to refill a piston chamber, particularly after a speed increase.
Restore the approved product conditions, prime through the designated procedure, and repeat the sample run. Verify calibration once the fills are repeatable. If one head still varies with a stable supply, have a technician check pump performance, piston seals, and valve seating before changing the common fill setting.
2. Machine not dispensing properly
First determine whether the filler commands a dose. If a bottle is present but the fill command never appears, check the selected recipe, target volume, bottle-detection indicator, and displayed alarms. If the command appears and the mechanism cycles, trace the liquid path from the tank to the nozzle.
Confirm the tank contains product, the pickup is submerged, and the supply valves are in their approved operating positions. Look for a kinked hose or a loss of prime. A single dry nozzle alongside working heads points toward a local blockage or valve fault. Loss of flow at every head points toward a shared supply, pump, or control issue.
After isolation and pressure relief, clean a blocked hose or nozzle using the approved product-contact cleaning procedure. Re-prime as directed. If the pump will not prime or a valve receives a command but does not move, refer the actuator, pump, or control fault to a technician.
3. Foaming during filling
Watch the first part of the fill. Foam that appears when the stream strikes the empty bottle points toward excessive drop height or initial speed. Foam already visible in the supply tank points upstream toward mixing or recirculation. Soaps and shampoos can hold bubbles even after the jet becomes steady.
For foam generated at the nozzle, test a gentler initial flow or an approved bottom-up filling profile. Verify nozzle clearance for the actual bottle before changing its position. For carbonated drinks, follow the equipment’s specified temperature and pressure procedure. If the required output still causes overflow, have the supplier review the filling method. The guide to reducing foam during liquid filling explains the options in more detail.
4. Leaks from the machine
A wet conveyor can result from an overflowing bottle, a nozzle that drips between cycles, or a leaking product connection. From outside the guarded area, identify the first wet point and note whether it appears during dispensing, between cycles, or at both times.
For a leak at a hose or fitting, stop and isolate the filler and relieve product pressure before inspection. Check for cracks, a displaced gasket, seal wear, and signs of incorrect assembly after cleaning. Replace damaged parts with compatible components and tighten connections to the manufacturer’s specification. If leakage returns at the same joint, have maintenance verify pressure and alignment. For help identifying the source, see how to trace leaks at seals, hoses, and fittings.
5. Slow production speed
Time the bottle wait, dispense, and refill stages separately. If the liquid takes longer to dispense, compare product temperature, viscosity, nozzle size, and recipe settings with the last successful run. A partially blocked nozzle or a restricted hose can reduce flow even when the speed setting is unchanged.
If dispensing takes its usual time but fewer bottles leave the line, review bottle spacing, indexing delays, and downstream stops. After a changeover, confirm the correct format and timing settings were restored. On an automatic filling line, a filler waiting for the capper can appear slow while delivering every dose on time.
Clear confirmed restrictions under isolation and retest one change at a time. If the pump or piston refill stroke remains slow under the same product and supply conditions, have maintenance inspect it for wear before increasing speed or pressure.
6. Air bubbles in the filled product
Bubbles suspended throughout the liquid can remain after surface foam disappears. Compare a sample taken from the supply under the approved sampling procedure with a freshly filled bottle. Bubbles in both samples point toward upstream product handling. Bubbles that first appear after the filler point toward air entering during transfer or dispensing.
After cleaning or a tank change, run the specified priming sequence. Verify that the pickup stays submerged throughout the run. A suction-side connection can admit air while the pump is drawing liquid even if no product visibly leaks out. If bubbles appear only as the stream enters the bottle, test the approved nozzle position and a gentler fill speed.
If air returns shortly after each prime, have maintenance check the suction connections, seals, and pump inlet conditions. Repeated priming may temporarily clear bubbles while leaving the source in place.
7. Machine jams during operation
Record the location of the first bottle that stops. A bottle catching at the infeed suggests a spacing or guide-width problem. A bottle struck beneath a nozzle suggests misalignment, incorrect indexing, or the wrong changeover setting. Bottles backing up at the discharge may indicate a downstream stop.
Stop the line and follow the isolation procedure before clearing containers, debris, or an obstruction. Check the guides, stops, and nozzle alignment against the approved setup for the actual container. After reassembly, use the prescribed guarded test cycle to confirm that each bottle settles into position before filling begins.
If the same station jams again, or a nozzle contacts a bottle, stop the test. Have a technician inspect the indexing mechanism, conveyor synchronization, and any damaged components before resuming production.
8. Dripping nozzles
Observe the nozzle after the fill command ends. One hanging drop, a long thread of viscous product, and continuous seepage are different symptoms. Compare the affected nozzle with another head running the same product.
After safe isolation, clean residue from the nozzle tip and shut-off seat. Inspect the seal for wear or damage. Verify the approved valve-closing timing and, on equipment fitted with suck-back, check the setting for that product. Excessive suck-back can pull air into the next dose, so check the next fill as well as the tip.
If a clean nozzle still seeps while commanded closed, have a technician check the valve seat, actuator travel, and residual product pressure.
9. Filling accuracy problems
When successive doses are close to one another but consistently above or below target, verify the measurement before adjusting the filler. Confirm the recipe, units, and target quantity. Use a verified measuring device and take consecutive samples from each head with the product at its normal operating temperature.
For a weight check, subtract each empty container’s tare from its filled weight. If the target is expressed in milliliters, use a suitable volume measure or convert net mass using verified product density at the test temperature. A 500 mL target equals 500 g only when density is 1.00 g/mL.
Compare the average dose and the spread for each head. A repeatable offset supports a calibration check under the manufacturer’s procedure. A wide spread calls for checking air, pressure, viscosity, and mechanical wear first. If a head drifts again soon after calibration, have the metering components inspected and follow the site’s quality procedure for affected product.
10. Electrical issues
If the filler stops suddenly, record whether the display went dark or remained on with an alarm. From the normal operator position, check the external power indication, emergency-stop status, guard status, and alarm history. A lit panel with a guard alarm gives maintenance a different starting point from a complete loss of power.
Report the exact alarm, the stage of the cycle, and whether the fault recurs with a particular pump or drive. Leave enclosure access, wiring inspection, supply testing, and repair to qualified electrical personnel. Repeated trips, a burning smell, a damaged cable, or an unexplained loss of power require shutdown and qualified inspection. Never bypass an interlock or repeatedly reset a protective device to continue production. Occupational Safety and Health Administration
Preventive maintenance for liquid filling machines
Base inspection and service frequency on the manufacturer’s instructions, operating hours, product characteristics, cleaning process, and fault history. A line handling a sticky syrup may need nozzle cleaning more frequently than the same equipment running a free-flowing liquid.
| Maintenance Task | What to Do |
|---|---|
| Shut down safely | Follow the approved shutdown and isolation sequence. Before opening the product path, verify pressure has been relieved and the product is at a safe handling temperature. |
| Clean product-contact surfaces | Use the approved cleaning method for the tank, pump, hoses, valves, and nozzles. Check valve seats and nozzle tips for residue that can restrict flow or prevent closure. |
| Inspect hoses, seals, and gaskets | Look for cracks, kinks, swelling, flattened seals, and damaged mating surfaces. Replace worn parts with materials compatible with both the liquid and the cleaning agents. |
| Verify filling calibration | Record measured doses by head after relevant product changes, tooling changes, or repairs and at the interval set by the quality plan. Investigate a trend before it produces a full run of rejects. |
| Lubricate designated moving parts | Follow the manual for lubrication points, lubricant type, and quantity. Protect product-contact surfaces from contamination. |
| Keep maintenance records | Log the product, temperature, recipe, affected head, symptom, work performed, and test result. Recurring faults at one head can justify a planned replacement before the next production run. |
Frequently asked questions
Why does my liquid filler dispense different amounts as the tank empties?
On a gravity-fed or pressure-sensitive system, the available inlet pressure can change with the liquid level. A pickup that becomes exposed can also draw air. Compare measured fills early and late in the batch and record the tank level at each test. This helps distinguish a supply problem from a calibration error.
Why does only one nozzle drip after cleaning?
A local fault is likely when the other heads shut off cleanly with the same product and recipe. Under safe isolation, check whether the affected seal was installed correctly and whether residue remains on the valve seat. A head that still leaks after correct reassembly needs inspection.
What should I check if the filler stops dispensing after a product change?
Verify the new recipe, tank outlet position, and priming sequence. Then check whether the pump has enough time to draw the new liquid. A thicker product can refill the chamber more slowly even when the fill-volume target is unchanged.
How can I tell whether foam is causing an apparent underfill?
Use a tared weight check and allow a sample to settle under the approved test procedure. If the foam collapses and the net quantity meets the target, investigate aeration and nozzle position. If the measured quantity is low as well, check the dosing system.
How often should a liquid filling machine be calibrated?
Use the interval in the equipment manual and the facility’s quality plan. Verify accuracy after work that can affect the dose, such as replacing piston seals or metering components. Use the verification results to decide whether adjustment or recalibration is required.
When a recurring fault needs an equipment review
Before releasing the line, confirm that each head delivers the required quantity with the actual product and container at the intended operating speed. Record the settings and results so the next shift can reproduce the run. If the filler meets the target only when production slows below the required output, review pump capacity, nozzle selection, and container compatibility. Compare liquid filling machine options for your product using the viscosity at filling temperature, target dose, bottle opening, and required bottles per minute.
Still experiencing liquid filling problems? Share your product type, fill volume, container format, and production requirements with our team to discuss suitable equipment solutions.