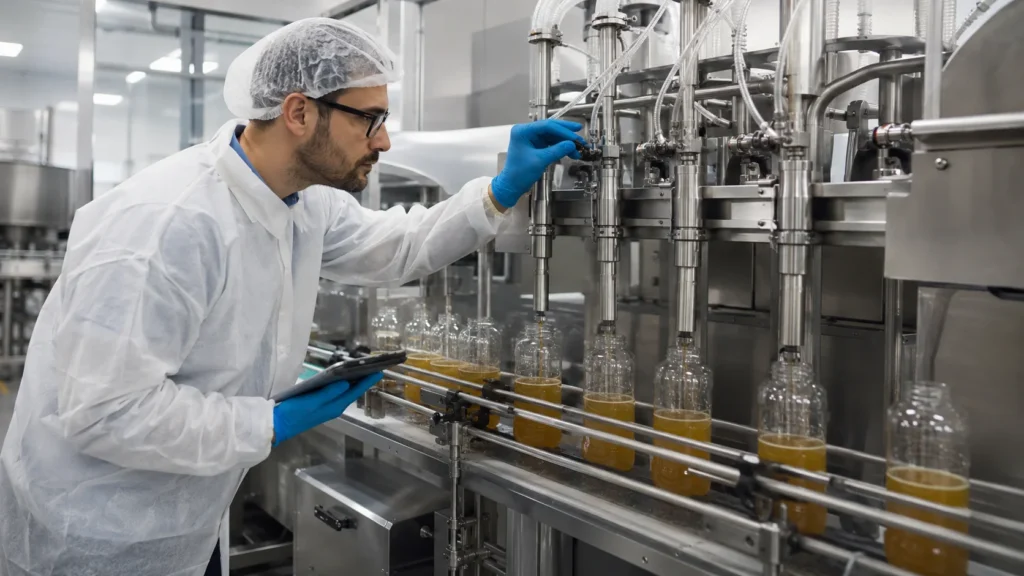
Filling machine leakage is easier to trace when you know where the first drop appears and when it falls. A nozzle that drips after cutoff points to a different fault than a hose connection that leaks only while the pump is running. If the bottle neck gets wet during the fill but the nozzle stays dry between cycles, check for splashing or overflow first.
Watch one complete fill cycle from outside the guards. Record the first wet point, the stage of the cycle, and whether one filling head or several are affected. These observations help operators narrow the inspection, reduce product waste during test runs, and give maintenance a specific fault to investigate.
Quick checks for filling machine leakage
- The nozzle drips between bottles. Compare the affected tip with the other heads after cutoff. One drop hanging from the tip and a series of fresh drops call for different checks.
- A hose fitting gets wet during pumping. Observe where the first bead forms. If a pressure gauge is visible from the operator position, record its reading when the leak appears.
- A joint leaks on the first run after cleaning. Identify which connection was opened during changeover. Its gasket may have shifted during reassembly.
- Liquid collects beneath the pump or piston. Look for a wet path leading down from an inlet or outlet fitting. Record the highest point where liquid is visible.
- Only the bottle neck gets wet. Watch the stream enter the bottle. Note whether it strikes the neck, splashes back from inside, or rises over the rim.
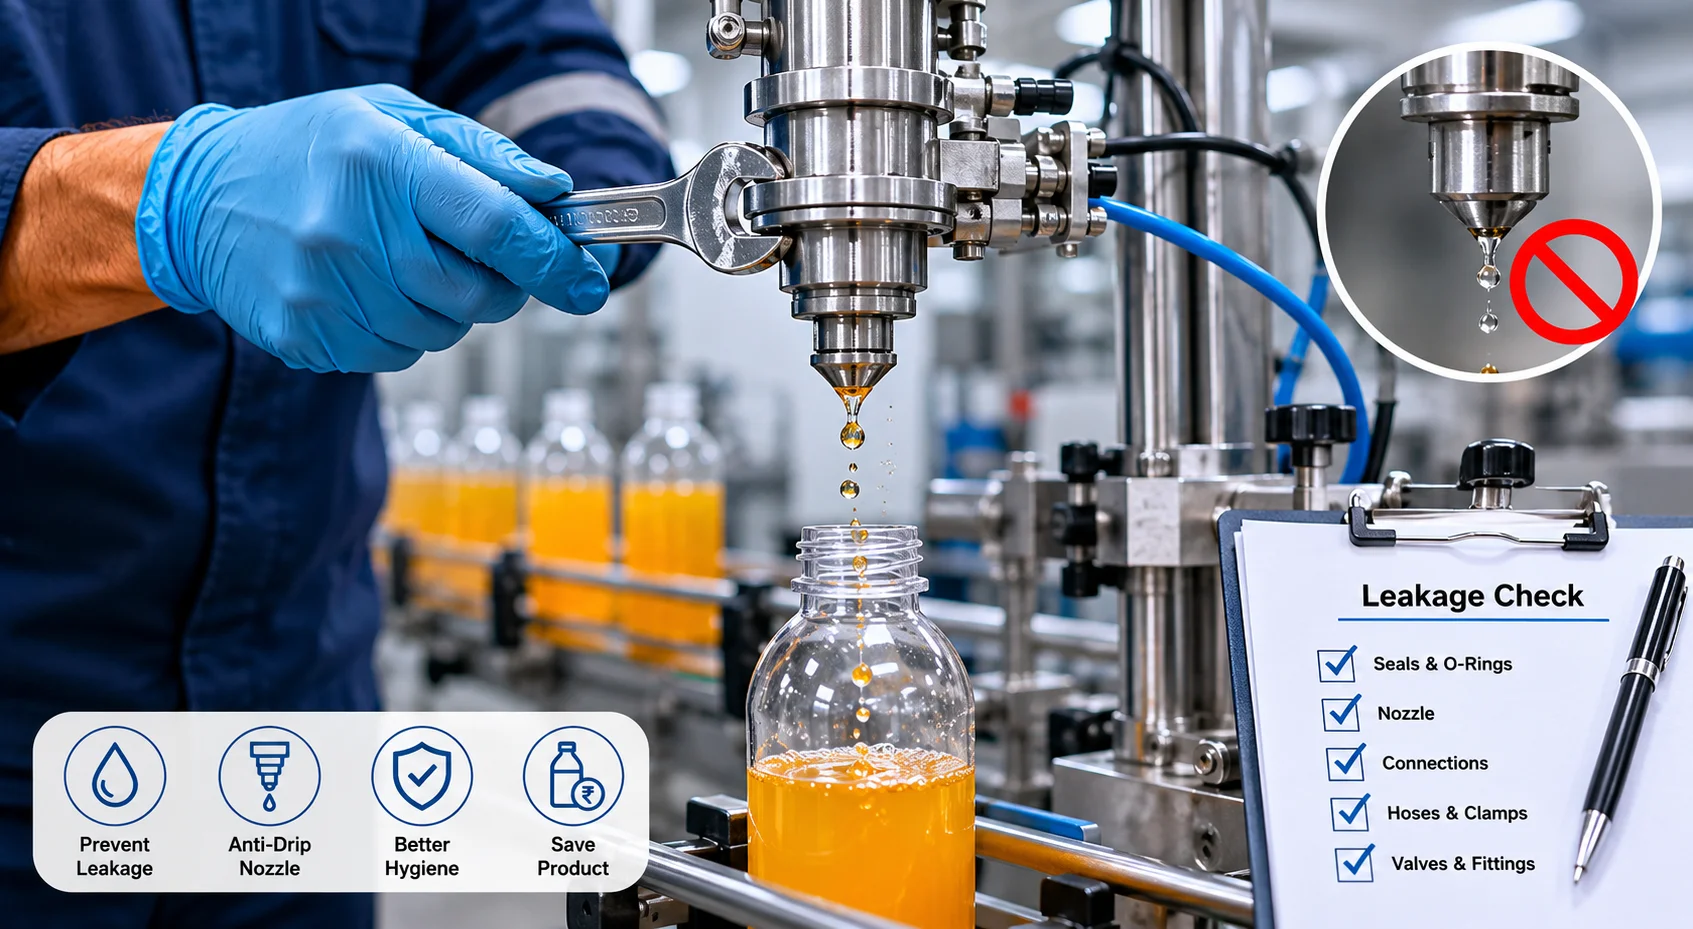
Before hands-on inspection, have authorized personnel follow the machine-specific shutdown and lockout/tagout procedure. Isolate hazardous energy, relieve trapped product and air pressure, and verify isolation before opening a line or removing a component. Never tighten a leaking connection under pressure or use a hand to locate a suspected leak. www.osha.gov
Where is the filling machine leaking?
Nozzle dripping after the fill stops
Observe the tip from cutoff until the next bottle arrives. A single drop can be liquid left on the outside of the tip. A thread that stretches toward the departing bottle warrants a check of product temperature, nozzle design, and cutoff settings. If fresh drops continue to form while the valve should be closed, maintenance should inspect the shut-off seat for residue or wear.
After isolation, clean the tip and seat using the approved method. Check valve-closing timing against the recipe, particularly if the bottle starts moving before the stream breaks. If the machine has suck-back, verify its setting according to the manufacturer’s procedure. If a clean valve continues to pass liquid while commanded closed, have a technician check actuator travel, seat condition, and residual product pressure.
Leakage at seals and gaskets
A joint that was dry before cleaning and leaks on the first fill afterward is worth checking for a pinched, twisted, missing, or incorrectly seated gasket. If leakage developed gradually during a stable run, look for wear, swelling, cracking, or damage to the mating surfaces.
Once the assembly is isolated and depressurized, verify the seal’s size, profile, orientation, and material against the parts specification. The seal must be compatible with both the product and the cleaning agents. If successive gaskets fail at the same location, have maintenance inspect the joint alignment and sealing faces before fitting another one.
Hose and connection leaks
Product can run down the outside of a hose and collect beneath a sound connection. From outside the guards, follow the visible wet path back to the first joint where liquid appears.
After isolation, inspect the hose wall, clamp, gasket, and fitting. Look for cracks, sharp bends, or a hose pulling sideways on the connection. Replace damaged parts, restore the specified hose support, and tighten the fitting according to the manufacturer’s procedure. If the joint stays dry until the pump starts, record the pressure and cycle stage at which the leak returns.
Leakage near the pump, piston, or valve body
Liquid beneath a pump may come from an inlet fitting, an outlet connection, or the pump assembly itself. On a piston filler, note whether liquid first appears during the intake stroke, during discharge, or while the machine is idle. Also record whether the affected head delivers a smaller dose than the others.
These details help qualified maintenance personnel identify which connections and seals to inspect against the assembly drawing. Keep the equipment out of service if product enters a drive, electrical enclosure, or an area where it could cause contamination. Internal pump, piston, and actuator inspections require the machine-specific service procedure.
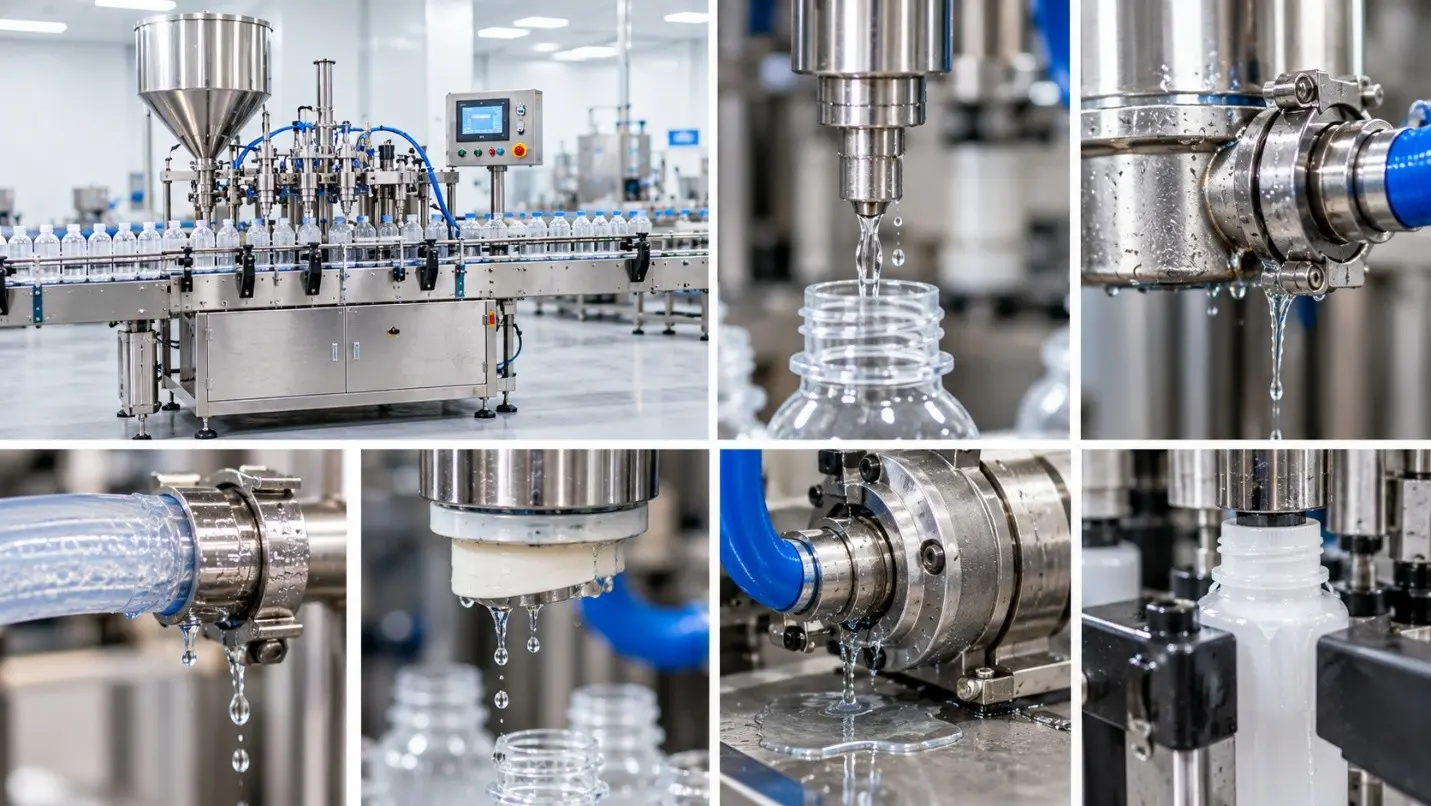
How pressure, product properties, and timing affect leakage
Filling pressure. If a joint stays dry at rest and leaks during discharge, compare the installed pressure reading with the approved setup for that product. A change following a pump adjustment or a restriction in the product path deserves investigation. A damaged gasket can also leak at normal pressure. If reducing the pressure stops the visible leak, the joint still needs inspection before the line returns to its required output.
Product temperature and viscosity. Record the product temperature when the fault occurs. A syrup may leave a thread at cutoff when cold but break cleanly at its normal filling temperature. A thinner product may reveal seepage through a worn valve seat. Compare runs at the approved product temperature before changing the nozzle settings.
Nozzle position, filling speed, and bottle timing. When the neck gets wet as the stream starts, check bottle centering, nozzle clearance, and initial filling speed. If liquid rises over the rim, verify the container format and measure the dose. If the stream follows the bottle as it moves away, review valve closure and indexing timing.
If the leak has stopped but the measured quantity still varies from bottle to bottle, follow these checks for inconsistent liquid fills to investigate priming, supply stability, and calibration.
A Practical Leakage Troubleshooting Process
Start with an observation another operator can verify, such as “the outlet fitting gets wet on the discharge stroke.” That gives maintenance a defined inspection point and a clear condition to reproduce after the repair.
If the machine also jams, stops dispensing, or produces uneven fills, use our general filling machine troubleshooting guide to narrow down the cause.
- Locate the source. From a safe position, record the first wet point, affected head, and stage of the cycle. Note recent cleaning, part replacement, or product changeover.
- Isolate and inspect. Follow the site’s isolation and depressurization procedure before touching the affected component. Start with the tip, joint, hose, or assembly identified during observation.
- Compare the current setup with the last successful run. Check product temperature, pressure, fill speed, valve timing, and bottle format. Record any difference before making an adjustment.
- Correct the confirmed fault. Depending on the finding, this may mean cleaning a valve seat, replacing a cracked hose, reseating the specified gasket, or restoring an approved recipe setting. Refer repeated component failures or suspected internal wear to qualified maintenance personnel.
- Verify the repair under the original conditions. Reassemble the equipment, restore guards, and follow the approved restart procedure. If the leak appeared only after warm-up or at production speed, repeat the check under those conditions. Confirm the delivered quantity before releasing the line.
How to prevent filling machine leakage
Use the first approved test fill after cleaning or changeover to observe nozzle cutoff and the connections opened during the work. Pay particular attention to the following items in the filling machine maintenance schedule.
- Nozzle shut-off. Clean product-contact surfaces using the approved method. During the restart, check that the stream breaks before the bottle moves and that fresh drops do not form between cycles.
- Seals and gaskets. When an assembly is opened, inspect its seal for swelling, flattening, cuts, and incorrect seating. Confirm that replacement parts match the equipment specification.
- Hoses and fittings. Check hose routing, support, and signs of rubbing or cracking. A connection disturbed during a format change should be among the first points observed during restart.
- Pressure behavior. Record unusual readings alongside the product, temperature, and cycle stage. This gives maintenance a reference if the same fitting starts leaking again.
- Recurring faults. Log the failed component, corrective action, and verification result. If several replacements fail at the same joint, investigate alignment, hose strain, and operating conditions.
Set inspection and replacement intervals according to the machine design, manufacturer’s instructions, operating hours, product characteristics, and cleaning process. For a recurring component fault, refer to the machine documentation or consult the manufacturer’s service and technical support team.
When to review the filling equipment configuration
If leakage begins after a product or container change, identify what changed first. A narrower bottle opening affects nozzle clearance. A different formulation changes how the stream breaks at cutoff. A higher output target shortens the time available for the valve to close before the next bottle advances.
If a sound, correctly assembled filler reaches the required output only with persistent dripping or spillage, review the liquid filling machine configuration against the actual product temperature, dose, bottle opening, and required bottles per minute. For an existing automatic filling line, include container indexing and conveyor timing in the review. For a new application, use those same production details to compare the available filling equipment options.
Frequently asked questions
Why does my filling nozzle drip after cutoff?
A drop clinging to the outside of the tip may be residual product. If fresh drops keep forming while the valve is commanded closed, check the shut-off seat, actuator movement, and pressure remaining at the nozzle.
Why does the same fitting leak again after a gasket replacement?
A damaged sealing face, misaligned joint, or unsupported hose can cause a new gasket to leak. Verify the gasket’s size, material, and seating. Note whether the leak starts immediately after assembly or only during pumping.
How can I tell leakage from overfilling?
Watch where liquid first leaves its intended path. Liquid rising over the bottle rim calls for a dose and container-format check. Liquid appearing at a hose joint or closed nozzle identifies a component that needs inspection.
Can filling speed or pressure cause leakage?
A speed increase can produce splashback or expose a timing mismatch between the valve and conveyor. A pressure change can reveal a weak connection or worn seal. Record which change reproduces the symptom and compare it with the approved setup.
How can operators catch a leak after cleaning?
Before restart, verify correct reassembly under the site’s approved procedure. During the guarded test fill, observe the joints that were opened and watch each nozzle through cutoff. A connection that becomes wet only during discharge is easy to miss while the filler is idle.
Conclusion
A useful repair record identifies where the first drop appeared, when it appeared, what corrected it, and whether the line stayed dry under the same production conditions. Those details help the next shift recognize a repeat fault and give the equipment supplier a specific problem to investigate.
Dealing with recurring filling machine leakage? Share the leak location and timing, product type, fill volume, container format, and required output with FillingMachinePP to discuss a suitable equipment configuration. Discuss Your Filling Requirements