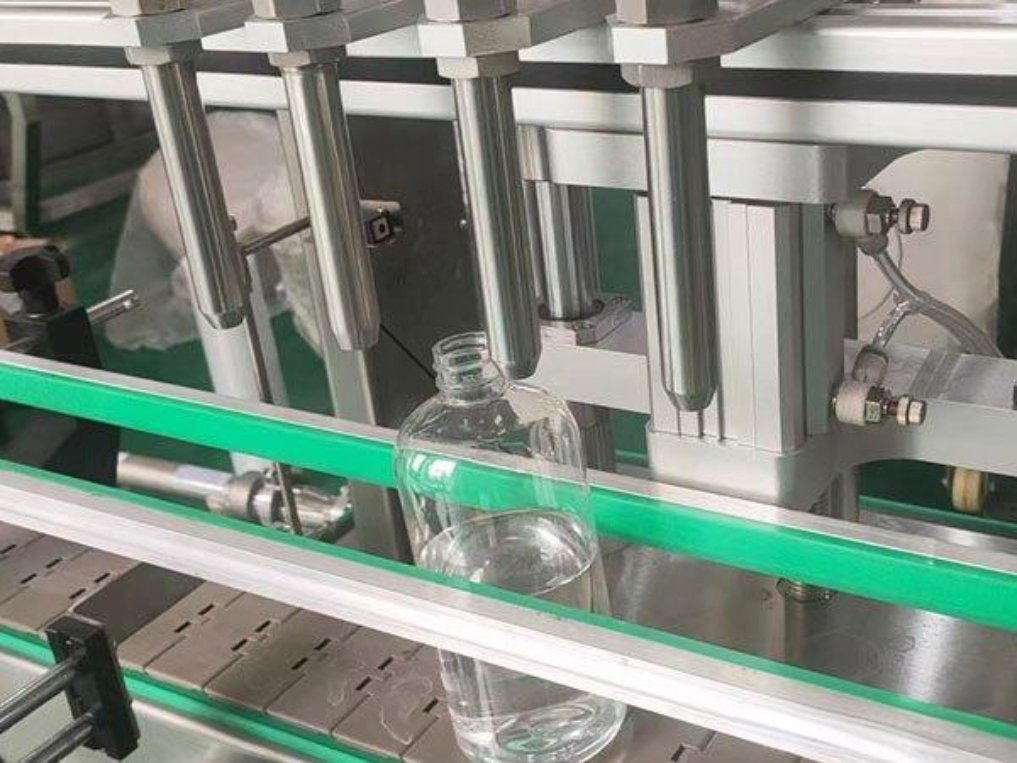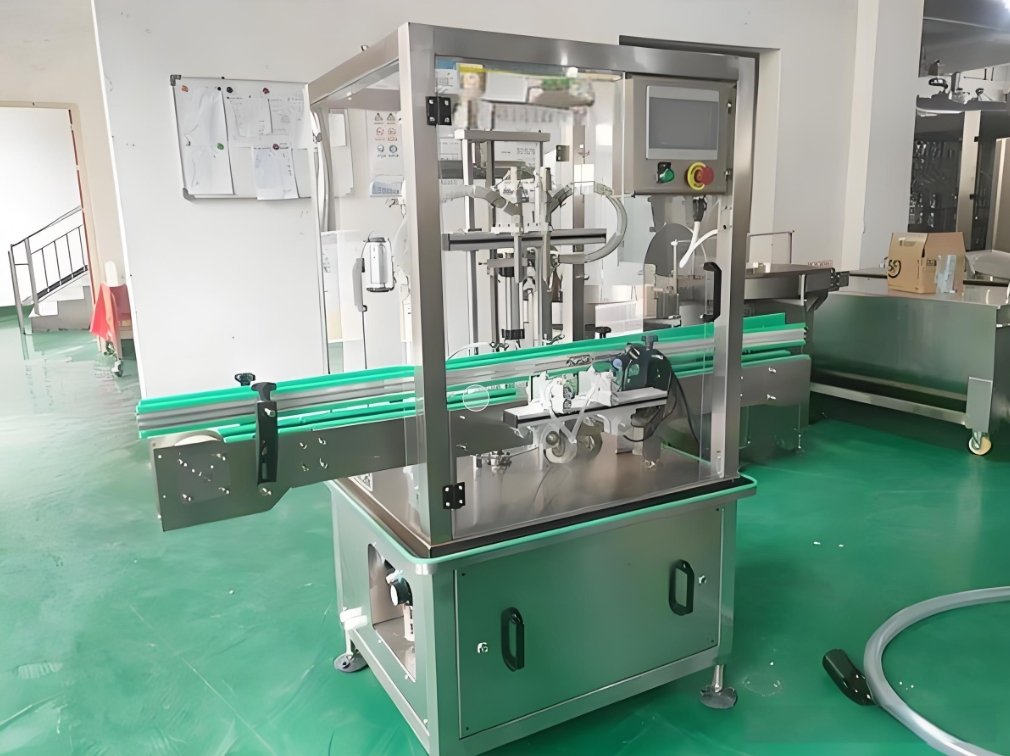
Regular capsule filling machine cleaning helps manufacturers maintain hygienic production, reduce residue buildup and identify worn or damaged components before they cause repeated operating problems.
However, no single cleaning procedure is suitable for every capsule filler. Manual, semi-automatic and fully automatic machines may have different dosing systems, vacuum components, product-contact parts, sensors and electrical assemblies.
Always follow the machine manufacturer’s manual, your facility’s approved standard operating procedure and applicable safety requirements. This guide provides a general cleaning framework and should not replace a validated cleaning procedure for pharmaceutical or regulated production.
Manufacturers planning to improve production hygiene, output or automation can also review our automatic capsule filling machine for powders, pellets, granules, supplements and pharmaceutical products.
Why Capsule Filling Machine Cleaning Matters
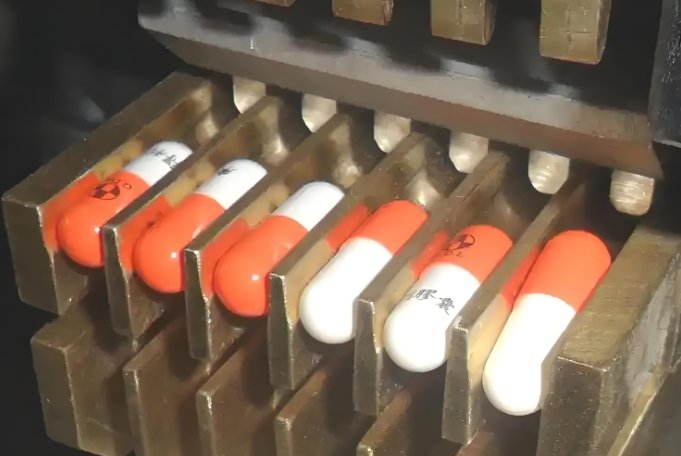
Powders, granules and capsule fragments can accumulate around dosing components, vacuum openings, capsule holders, tracks and transfer stations. If residues are not removed correctly, they may interfere with capsule movement, dosing consistency or machine operation.
A controlled cleaning procedure can help:
Remove product and powder residues
Reduce cross-contamination risks
Prevent buildup around moving components
Support accurate capsule handling
Identify loose, damaged or worn parts
Prepare the machine for the next batch
Maintain documented production procedures
Cleaning frequency should be based on the product, batch schedule, equipment design, production environment and manufacturer’s recommendations rather than one universal daily or weekly rule.
Before You Begin: Safety and Preparation
Before cleaning the capsule filling machine, review the approved cleaning instructions and collect the required tools, personal protective equipment and cleaning materials.
Depending on the machine and product, the cleaning kit may include:
Approved lint-free wipes
Soft, non-shedding brushes
Designated cleaning utensils
Approved vacuum equipment
Manufacturer-approved detergent or cleaning solution
Rinse water of the required quality, where applicable
Clean containers for removable parts
Gloves, eye protection and respiratory protection where required
Equipment-cleaning record or checklist
Do not select alcohol, detergent, sanitizer or another chemical only because it is commonly used. The cleaning agent must be compatible with the product residue, machine surfaces, seals and approved facility procedure.
Step 1: Stop Production and Identify the Cleaning Requirement
Complete the current production cycle according to the operating procedure. Record the batch status and confirm whether the cleaning is being performed:
Between batches of the same product
During a product changeover
During a capsule-size changeover
After maintenance
Following a spill or unusual event
Before an extended shutdown
As part of scheduled preventive maintenance
Different situations may require different levels of cleaning, inspection and documentation.
Step 2: Shut Down and Isolate the Machine
Stop the capsule filler using its normal shutdown sequence. Isolate electrical, pneumatic, vacuum and other energy sources according to the manufacturer’s instructions and your facility’s lockout or isolation procedure.
Do not clean a machine while it is operating. Do not bypass interlocks, guards or safety switches.
Only trained and authorized personnel should disconnect energy sources, remove guarded components or access internal mechanical and electrical areas.
Step 3: Remove Capsules and Remaining Filling Material
Remove unused empty capsules, filled capsules and remaining powder, pellets or granules from the machine according to the approved material-recovery or disposal procedure.
Inspect areas where material commonly remains, including:
Product hopper
Dosing or tamping station
Capsule-loading area
Capsule separation station
Capsule body and cap holders
Closing station
Rejection chute
Discharge chute
Vacuum openings
Transfer tracks
Use a suitable collection method that does not spread airborne powder into electrical components or surrounding production areas.
Avoid mixing recovered material from different batches unless the approved manufacturing procedure specifically permits it.
Step 4: Remove Approved Product-Contact Parts
Remove only the components identified as removable in the equipment manual or approved cleaning SOP.
Depending on the machine design, removable parts may include:
Product hopper
Powder feeder
Dosing disk
Tamping pins
Capsule trays
Segments or capsule holders
Filling rings
Scrapers
Product chutes
Vacuum filters
Brushes
Seals or gaskets approved for removal
Place removed components in clean, identified containers or on a protected cleaning surface.
Do not force a component that is difficult to remove. Resistance may indicate that a fastener remains engaged, the component is misaligned or powder has hardened around the fitting.
Step 5: Remove Loose Powder and Dry Residues
Begin by removing loose powder and capsule fragments using the method approved for the product and machine.
A soft brush or suitable vacuum system may be used where authorized. Avoid blowing uncontrolled compressed air across the machine because it can spread powder into bearings, sensors, control cabinets and the surrounding environment.
Pay particular attention to:
Dosing holes
Vacuum passages
Capsule tracks
Tamping components
Corners and joints
Underneath removable assemblies
Product-contact edges
Reject and discharge areas
Use separate or clearly designated tools where necessary to reduce the risk of transferring residues between machine sections or products.
Step 6: Clean Removable Product-Contact Parts
Wash or wipe removable product-contact parts using the approved method.
The exact process may include:
Pre-cleaning to remove visible residue
Application of an approved detergent
Mechanical cleaning using designated tools
Rinsing where required
Inspection for remaining product or cleaning-agent residue
Drying under controlled conditions
Follow the required detergent concentration, contact time, water quality, temperature and rinse procedure.
Do not use abrasive pads, steel wool or tools that may scratch stainless-steel surfaces. Scratched or damaged surfaces can become more difficult to inspect and clean consistently.
Step 7: Clean Fixed Machine Surfaces, Sensors and Controls
Clean fixed surfaces without allowing liquid to enter motors, bearings, wiring, control panels, sensors or pneumatic components.
Sensors
Use the method recommended by the sensor and machine manufacturer. Do not press, scrape or reposition sensors during routine cleaning unless adjustment is required and authorized.
Electrical controls
Do not spray cleaning solution directly onto:
Touchscreens
Control panels
Emergency-stop buttons
Electrical cabinets
Switches
Connectors
Motors
Apply an approved cleaning material to the wipe rather than directly to sensitive equipment surfaces.
Vacuum system
Inspect accessible filters, ports and hoses for powder buildup. Clean or replace filters according to the maintenance schedule. Internal vacuum-system servicing should be performed only by trained personnel.
Step 8: Inspect Components During Cleaning
Cleaning provides an opportunity to identify developing mechanical problems.
Inspect accessible components for:
Cracks or deformation
Worn dosing components
Damaged capsule holders
Loose fasteners
Blocked vacuum holes
Worn seals or gaskets
Corrosion or surface damage
Frayed cables
Loose sensor mounts
Abnormal powder accumulation
Damaged guards or interlocks
Do not return a damaged product-contact component to production without the required assessment and authorization.
For recurring capsule separation, dosing, closing or rejection issues, review our guide to common capsule filling machine problems.
Step 9: Dry and Protect All Cleaned Parts
Ensure cleaned components have reached the required dryness before reassembly or storage.
Moisture remaining in product-contact areas may affect powder flow, capsule quality or equipment surfaces. Use the approved drying method and protect clean components from dust, handling and environmental contamination.
Do not place clean parts directly on floors, unclean workbenches or uncontrolled surfaces.
Where clean-hold times are defined, record when cleaning was completed and ensure the equipment is used or re-cleaned within the permitted period.
Step 10: Reassemble and Verify the Machine
Reassemble the capsule filling machine according to the manufacturer’s instructions.
Confirm that:
Every component is installed in the correct orientation
Fasteners are properly secured
Seals and gaskets are seated correctly
Vacuum connections are restored
Sensors remain aligned
Guards and interlocks are installed
No cleaning materials or tools remain inside the machine
Product-contact areas are visibly acceptable
The equipment status label has been updated
After restoring the energy supply, perform the authorized startup and operational checks.
Where required, run an empty-machine test or approved challenge cycle before introducing capsules or filling material.
If cleaning or reassembly has affected machine settings, use the appropriate capsule filling machine calibration procedure before production resumes.
Capsule Filling Machine Cleaning Frequency
Cleaning frequency should reflect the actual production risk and operating conditions.
Between batches
Remove loose material and complete the batch-to-batch procedure required by the facility.
During product changeovers
Perform the approved changeover cleaning process to remove residues from the previous product and cleaning agent.
During capsule-size changeovers
Clean and inspect change parts before installing tooling for another capsule size.
After spills or abnormal events
Stop production and follow the applicable deviation, spill-control and cleaning procedure.
Scheduled deep cleaning
Complete a more detailed cleaning and inspection at the interval defined by operating hours, equipment condition, maintenance history and manufacturer recommendations.
Avoid publishing an unsupported statement that every machine must be fully disassembled daily or weekly. The correct interval differs by machine, product and production environment.
Cleaning Agents: What Should You Use?
Use only cleaning agents approved for the equipment, materials and manufacturing process.
The correct cleaning agent depends on:
Powder or product characteristics
Solubility of the residue
Stainless-steel grade
Plastic and elastomer compatibility
Seal and gasket material
Microbial-control requirements
Required rinse process
Cleaning-validation requirements
Do not automatically use alcohol, bleach, dishwashing detergent or a general-purpose sanitizer.
An unsuitable chemical may damage seals, leave residues, affect product-contact surfaces or conflict with an approved cleaning procedure.
Preventing Cross-Contamination
Cross-contamination control requires more than wiping visible powder from the machine.
Good practices may include:
Using identified cleaning tools
Separating clean and dirty components
Controlling material movement
Protecting cleaned parts
Following defined cleaning sequences
Checking difficult-to-access areas
Verifying removal of previous-product residue
Recording who performed and checked the cleaning
Following validated procedures where required
Cleaning tools themselves should be cleaned, dried, stored and replaced according to the applicable procedure.
Keep a Capsule Machine Cleaning Log
A cleaning record creates traceability and helps maintenance and production teams identify recurring issues.
The record may include:
Machine identification number
Date and time
Previous product and batch
Reason for cleaning
Cleaning procedure used
Cleaning agent and concentration
Components removed
Operator name or signature
Inspector or verifier
Observed wear or damage
Corrective action
Equipment status
Release approval where required
For regulated pharmaceutical manufacturing, use the documentation format approved by the quality system.
When Should a Technician Be Called?
Stop using the machine and request qualified technical support when cleaning reveals:
Damaged electrical wiring
Repeated vacuum failure
Motor or gearbox problems
Damaged safety interlocks
Cracked product-contact parts
Significant corrosion
Persistent sensor errors
Abnormal vibration or noise
Components that cannot be removed or installed correctly
Repeated dosing or capsule-closing problems after cleaning
Do not attempt unauthorized repairs inside the control cabinet, PLC system, motor assembly or guarded transmission components.
When Is It Time to Upgrade the Capsule Filler?
Cleaning and preventive maintenance can improve reliable operation, but they cannot correct a machine that no longer suits the required production output, product characteristics or capsule formats.
An upgrade may be appropriate when:
Cleaning and changeovers require excessive downtime
Spare parts are difficult to obtain
The machine cannot handle required capsule sizes
Filling accuracy remains inconsistent
Repeated failures interrupt production
Output capacity no longer meets demand
The machine design makes product-contact areas difficult to access
Additional automation or line integration is required
Compare manual, semi-automatic and fully automatic options in our best capsule filling machine guide.
Frequently Asked Questions
How do you clean a capsule filling machine?
Shut down and isolate the machine, remove remaining capsules and filling material, disassemble approved product-contact parts, remove loose residue, clean using the authorized method, dry all components, inspect for damage, reassemble and document the completed procedure.
How often should a capsule filling machine be cleaned?
The interval depends on the product, batch schedule, machine design, production environment and approved procedure. Cleaning may be required between batches, during product changeovers, after spills and at scheduled maintenance intervals.
Can alcohol be used to clean a capsule filling machine?
Only when the machine manufacturer and approved cleaning procedure permit it. Alcohol is not automatically suitable for every residue, seal, surface or pharmaceutical process.
Can water be used on an automatic capsule filler?
Water may be suitable for certain removable components when authorized, but it should not enter electrical, pneumatic, vacuum or control systems. Follow the machine manual and approved cleaning procedure.
Can compressed air be used to remove capsule powder?
Uncontrolled compressed air may spread powder into equipment and the surrounding environment. Use it only where an approved procedure and equipment design permit it.
Why should a capsule filling machine cleaning log be maintained?
A cleaning log documents when the machine was cleaned, what procedure was followed, who completed the work and whether damage or unusual conditions were identified.
What parts of a capsule filling machine need the most attention?
Common areas include the product hopper, dosing system, capsule holders, vacuum openings, filling stations, closing station, discharge chute and other product-contact surfaces.
Get Help Selecting a Cleanable Capsule Filling System
The correct capsule filler should support the required material, capsule sizes, production capacity, cleaning procedure and changeover schedule.
For a machine recommendation, provide your capsule size, filling material, target output, production environment and automation requirements through our capsule filling machine inquiry page.