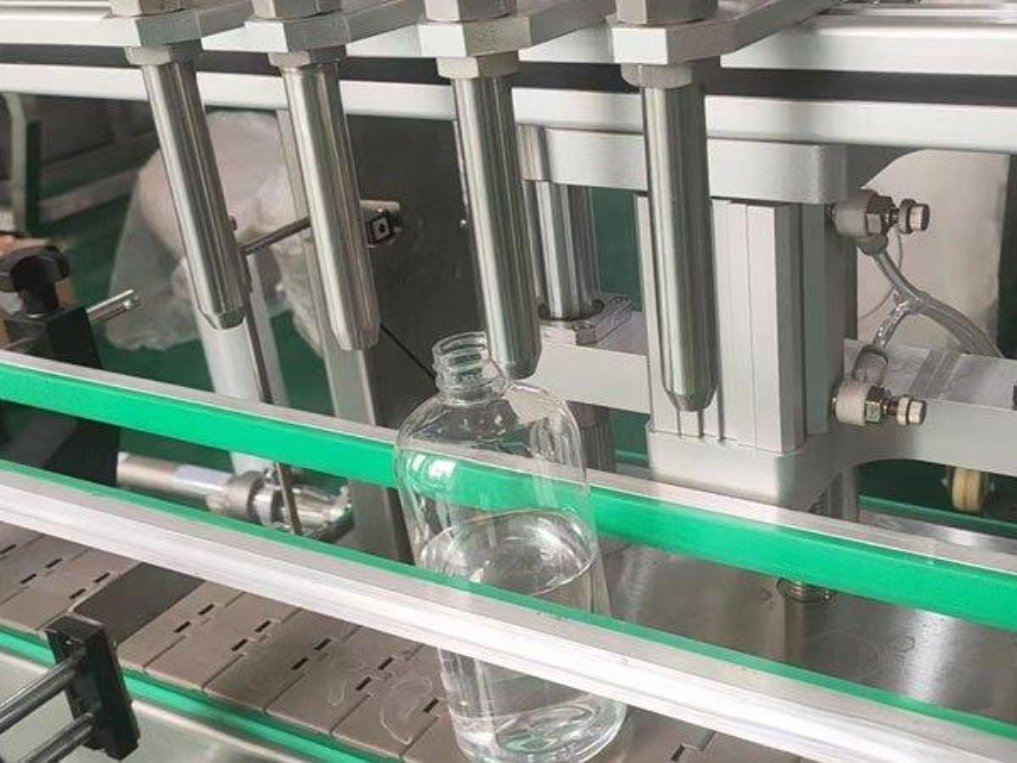
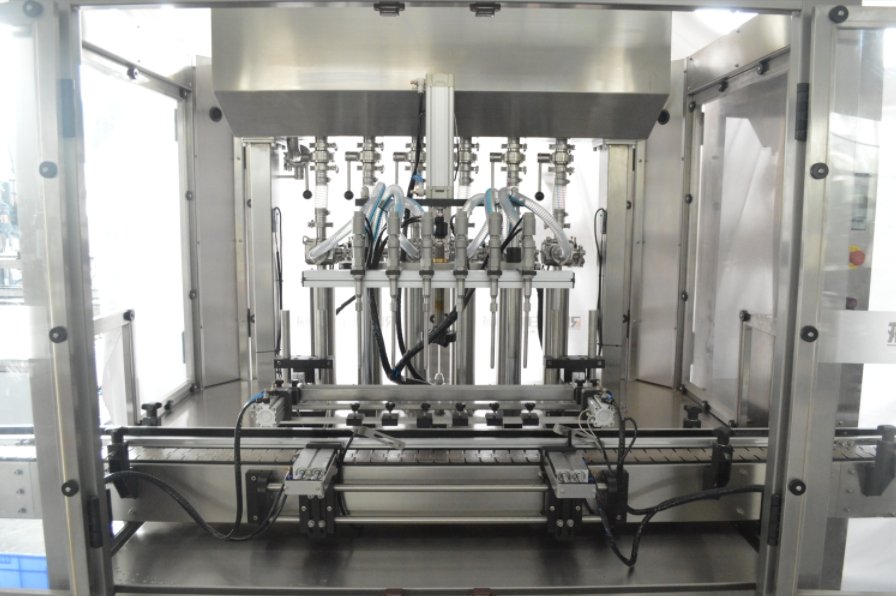
Before hands-on inspection: Observe normal operation only from the approved operator position with guards in place. Before clearing a jam, reaching into tooling, or removing parts, authorized personnel must follow the machine-specific shutdown and isolation procedure, control stored energy, and verify isolation. Follow the site’s containment procedure when handling exposed powder or rejected capsules.
What causes capsule filling machine problems?
Start with the machine configuration. On a manual plate filler, check how the operator loads the shells, spreads powder across the plate, and seats the caps. On a semi-automatic filler, transfer between operations can introduce a positioning error. On an automatic filler, individual pockets carry capsules through successive stations. A defect that returns at the same pocket each revolution gives maintenance a specific piece of tooling to inspect. Vacuum separation, tamping pins, and automatic rejection apply only to machines equipped with those features.
Timing helps distinguish material faults from machine faults. If cracking begins with a new shell lot, inspect unused shells and review their storage history. If weights fall as the hopper empties and recover after refill, investigate powder delivery. If a single pocket produces damaged capsules across several runs, prioritize its seating surfaces, alignment, and size parts. Record what changed before adjusting anything.
Common capsule filling machine problems and how to fix them
1. Capsules jam or feed in the wrong orientation
Find the first capsule that stops moving. The pileup behind it can hide the cause. A shell lodged at the feed guide points toward shell dimensions, damage, or orientation. A correctly oriented shell that sticks at the same pocket points toward that pocket or its alignment.
After isolation, inspect the affected passage for fragments and residue. Check that the installed feed and segment parts match the capsule size on the batch record. If shells cling together before reaching the guide, review handling conditions and static under the shell supplier’s instructions. During the approved restart, observe the original trouble spot across repeated feed cycles.
2. Capsule caps and bodies do not separate
On a vacuum-separation machine, establish whether the capsule arrived correctly oriented and seated. A good vacuum reading cannot correct a shell sitting across the edge of a pocket. If seating is correct, check the installed vacuum indication during the separation operation and compare it with the approved setup for that machine and shell size.
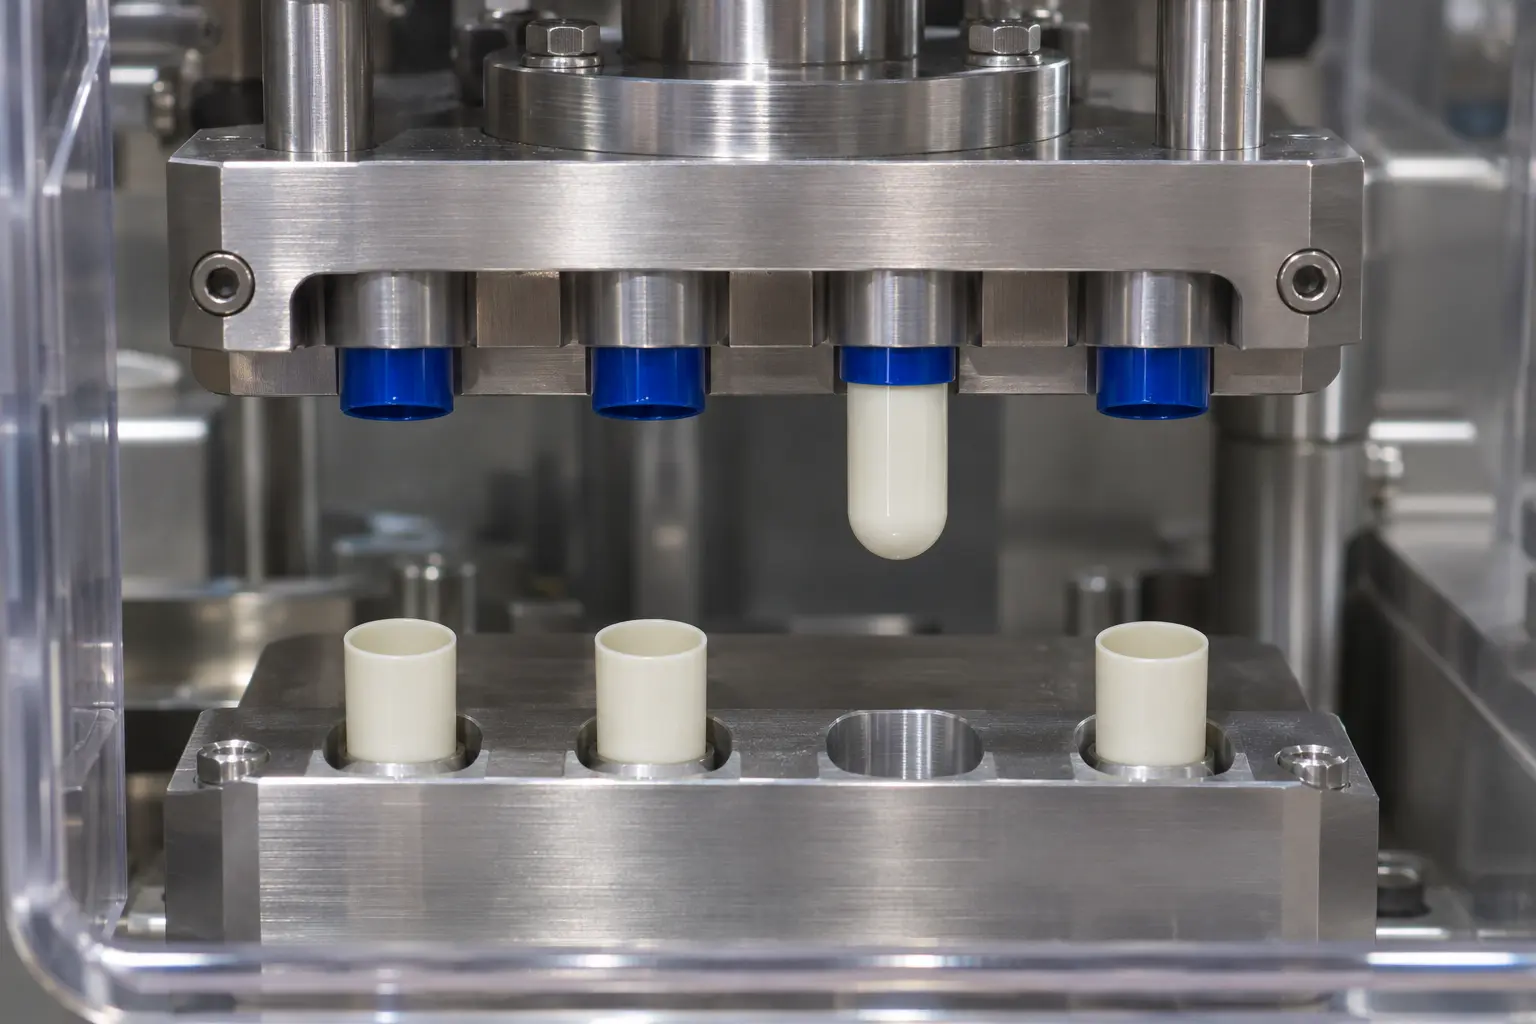
If failures cluster in one position, inspect its passage and segment for residue after isolation. If failures occur across several positions, maintenance should check the shared filter, seals, and vacuum supply. On a manual plate, inspect body seating and cap retention. Verify the correction by confirming that open bodies reach dosing and that the matching caps remain properly held.
3. Capsule fill weight varies
First distinguish an incorrect average from excessive variation between capsules. A series of similar doses below target calls for a different investigation from a series of alternating light and heavy doses whose average happens to meet target. Use the approved net-fill weighing procedure and a verified balance. Gross capsule weight includes the shell.
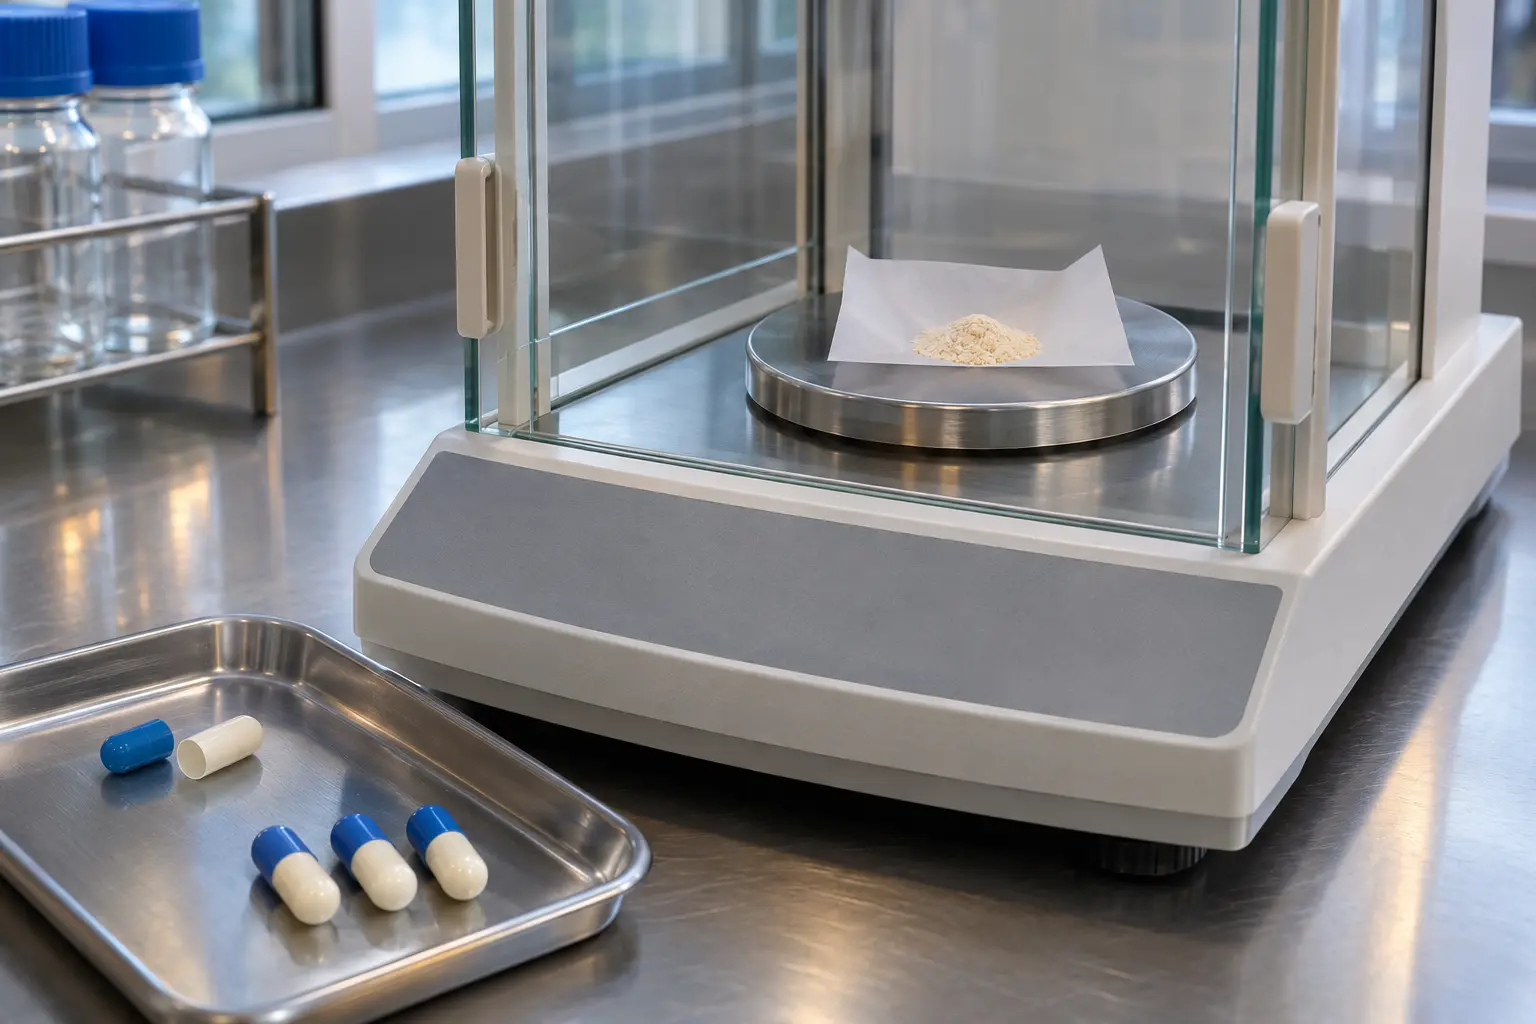
Record samples by time and, where traceable, by tooling position. A gradual shift after a hopper refill points toward a change in powder feed or packing. A repeated light dose at one position directs attention to the corresponding dosing bore, pin, or dosator. Changing the common dose setting can move the average while the faulty position continues to produce light capsules.
Powder behavior matters. In a study of an automatic tamping filler, powder-bed height affected fill weight for poorly flowing powders, and weight variability depended on the material’s flow properties. Check the consistency of the powder bed before adjusting pin settings. After correction, verify both the average and the spread against the batch’s in-process limits.
4. Some capsules are empty or partially filled
Trace a missed dose through three points: Was the body open? Was a dose formed? Did that dose enter the body? If the cap never separated, increasing the dose setting cannot fix the empty capsule. If a body was present but powder is visible below the transfer point, investigate plug formation and transfer.
On a dosing-disc machine, inspect the relevant bore and transfer path under isolation. On a dosator machine, check whether the dosing tube picks up the powder plug, retains it during travel, and releases it into the body. Follow the machine’s approved observation or test procedure. Verify the correction with net-fill samples from the affected position, including after any interruption that previously triggered the fault.
5. Powder leaks during filling or appears on finished capsules
Locate the first powder deposit. Dust present around open bodies before closing suggests a dosing spill or poor transfer. Powder appearing along the seam after closing warrants inspection of the body rim, shell integrity, and lock. A polisher can remove surface dust while leaving a split or poorly closed capsule in the output.
Using the approved sampling procedure, compare capsules before and after closing. Check the fill level, remove tooling buildup under isolation, and verify the specified dust-extraction setup where fitted. Examine fresh samples at the same two points to confirm that the source of the powder loss has been corrected.
6. Capsules do not close or lock completely
Look at the shell immediately before closing. Powder protruding above the body or caught on its rim can obstruct the cap. A cap entering at an angle can dent or split the body even when the fill weight is correct. Note whether capsules leave the closing station visibly loose or open later during transfer.
Verify the capsule size, cap and body seating, and approved closing setup. Avoid increasing closing force to compensate for an overfilled body or misaligned tooling. Have maintenance inspect repeated defects at one position. Verify closure using the approved lock or closed-length check for that shell, then examine samples after normal discharge.
7. Capsule shells crack, dent, or crush
Compare unused shells from the same lot with samples taken at the first point where damage appears. A matching dent on successive capsules at one position suggests repeated tooling contact. Cracks present before loading warrant a shell-lot and handling investigation. Gelatin shell brittleness can be affected by moisture loss, so check storage and exposure records against the supplier’s conditions for that shell material.
If damage starts in the machine, inspect seating depth, size parts, and alignment at the implicated station. Document the location of the mark on the cap or body so maintenance can match it to a contact surface. After correction, compare incoming and discharged samples and confirm that the same mark no longer appears.
8. Powder bridges in the hopper or sticks to dosing tools
A hopper can look full while the dosing station receives too little powder. A bridge forms when material spans the outlet and leaves a void beneath it. Check whether the powder bed actually replenishes during operation and whether the weight trend changes after refill. Never reach into a running hopper to break up material.
On a tamping filler, pins compact powder in dosing-disc bores to form plugs. On a dosator filler, a tube gathers and transfers a dose. Inspect the parts used by your machine for deposits, sticking, or incomplete release. Restore the approved feeder and powder-bed conditions, then verify consistent delivery over the part of the run where starvation occurred. Refer persistent blend-flow problems to process development or quality personnel before changing the formulation.
9. The capsule rejection rate rises
Examine a representative sample from the reject stream under the site’s procedure. Separate visibly damaged shells, unopened capsules, closing defects, and weight failures where weight inspection is fitted. Record the most frequent defect and the time it began. This prevents an accurate reject mechanism from being adjusted to compensate for an upstream fault.
If apparently acceptable capsules are being rejected, authorized personnel should verify sensor condition, timing, and the reject mechanism using the approved challenge procedure. After correction, confirm that defective units are still rejected and that accepted output meets the required checks. Keep rejected material under the site’s quality controls.
10. The machine stops mid-cycle or output falls
Record the first alarm and the active station before resetting anything. Several later alarms can result from a single event, such as a shell failing to seat before indexing. For low output, record time lost to repeated short stops as well as the displayed running speed. A filler can reach its set speed between stops and still miss the production target.
Stop and escalate abnormal vibration, grinding, repeated drive faults, or unexplained control errors. Give maintenance the alarm text, station, and recent changeover history. After repair, verify the previously affected cycle and measure accepted capsules per unit of time. For a power, drive, or line-level fault affecting other equipment, use the general filling equipment troubleshooting guide.
How to troubleshoot capsule filling machines step by step
- Control the affected output. Record when the defect was detected and identify potentially affected material under the site’s quality procedure. Retain representative samples where permitted.
- Find the earliest visible fault. Follow the capsule through feeding, separation, dosing, closing, and discharge using approved observation points. Start the investigation at the first stage where a good shell or dose becomes defective.
- Map the pattern. Record whether the fault follows one pocket, one shell or powder lot, a hopper refill, a restart, or a changeover. Include a satisfactory sample for comparison.
- Make one authorized correction. Check the approved setup and change-part record. Document the correction so the team can tell which action affected the result.
- Verify at the original fault condition. If weight drift began near the end of the hopper cycle, a few capsules immediately after refill do not establish recovery. Repeat the applicable checks at the condition that exposed the fault. Follow the required quality review before batch disposition.
Preventive maintenance for capsule filling machines
At changeover, verify that feed, segment, dosing, and closing parts match the approved capsule format. A part can fit into the machine yet be wrong for the shell being processed. Record installed part identifiers so a recurring defect can be traced to a particular set.
During scheduled cleaning, inspect capsule pockets, vacuum passages, dosing tools, and closing faces for residue or wear. Use approved tools and methods that protect precision surfaces. Follow the machine manual and the site procedure for reassembly and line clearance. The capsule filling machine cleaning guide provides additional cleaning context.
After reassembly, verify separation, net fill weight, closure, and reject operation as applicable. Set inspection intervals using the manufacturer’s instructions, operating hours, powder characteristics, and defect history. If one pocket repeatedly needs cleaning during a run, record its identity and have its condition inspected.
When should you contact the machine supplier?
Contact the supplier when a defect repeatedly returns at the same tooling position after approved cleaning and setup, when closing parts appear to interfere, or when vacuum or drive faults persist. Provide the model, capsule size and material, installed part identifiers, alarm text, defect photographs, and samples or weight records where permitted. State the first station where the defect appears.
If an established product runs correctly and a new format repeatedly fails, ask the supplier to review the proposed shell, dosing method, fill weight, and required output together. The capsule filling equipment configurations provide a starting point for that discussion.
Frequently asked questions
Why does my capsule filling machine jam in the same position?
A repeating location points toward a local obstruction, worn pocket, or mismatched size part. Record the pocket and the point of contact. If jams occur across several positions immediately after opening a new shell lot, also check incoming shell condition and dimensions.
Why do capsules fail to separate even when the vacuum gauge looks normal?
The shell may be incorrectly seated, or a local passage may be obstructed despite a normal reading elsewhere in the system. Compare the failing pocket with an adjacent working one before changing a shared vacuum setting.
Why does fill weight change when the powder hopper is refilled?
Refilling can change how powder flows into the dosing area and how densely it packs. Record the powder-bed condition and compare net weights before and after refill. If the pattern repeats across positions, investigate feed consistency before altering individual dosing tools.
Does a capsule that looks half full contain too little powder?
Appearance alone cannot establish the dose. Powders with different bulk densities occupy different volumes at the same mass. Use the approved net-fill check to determine whether the dose is within specification.
What if capsules pass the weight check but open after discharge?
Treat fill weight and closure as separate checks. Inspect the body rim for trapped powder, confirm cap alignment, and verify the lock against the shell supplier’s specification. Examine samples after normal transfer to establish where reopening begins.
Conclusion
The most useful troubleshooting record connects a finished defect to a specific point in the cycle. “One pocket produces a light capsule after every refill” gives production, maintenance, and quality teams a condition they can reproduce and a clear way to verify the correction.
Experiencing repeated capsule filling problems or evaluating equipment for a new line? Share your capsule size, filling material, target fill weight, and required output to discuss suitable equipment options.